Phone:
0086-757-8938 9313
Email:
Address:
Caochang Industrial Zone, Liguang Rd, Lishui, Nanhai, Foshan, Guangdong, China
24/7 online services

Phone:
0086-757-8938 9313
Email:
Address:
Caochang Industrial Zone, Liguang Rd, Lishui, Nanhai, Foshan, Guangdong, China
24/7 online services
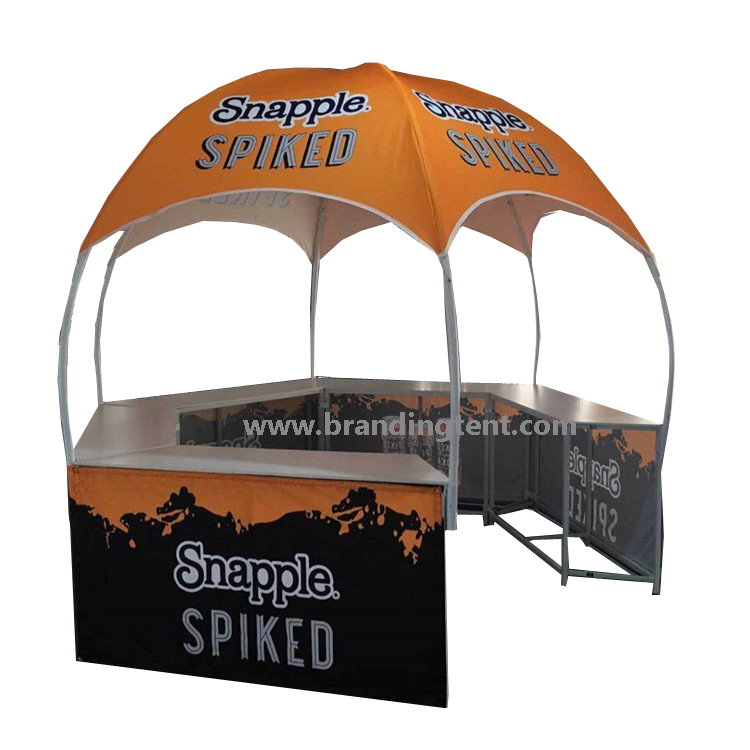
A marquee tent packing list should identify the approved structure, every printed component, its compatible fittings and the packages in which they travel. A carton count alone will not tell the crew whether the correct roof, wall graphics and connection parts have arrived.
For a reusable event kit, build two linked records: a component list for completeness and a package list for transport. Update both after each event. This makes the next dispatch a controlled check rather than a search through unmarked bags.
“Marquee,” “canopy” and “gazebo” are used differently across markets. Your kit might be a folding promotional canopy, a peaked modular shelter or a larger sectional frame tent. Their frames, covers, connections and erection methods are not interchangeable.
Use the model, size and approved configuration as the packing-list heading. Include the number of roof bays, fitted walls, entrances, counters and printed panels where applicable. A wall-free summer activation and a more enclosed layout may share a roof but need different components and a separately reviewed site arrangement.
The list supports installation; it is not an installation manual, anchoring design or permission to operate the tent. Obtain those documents for the actual model and venue. Never substitute an apparently similar fitting because the correct one is missing.
| Buyer or operator | Typical failure | What the list needs to control |
|---|---|---|
| Activation agency | A current roof arrives with old campaign walls | Artwork revision and panel identity |
| Rental company | Similar parts move between incompatible frames | Model and compatible part references |
| Distributor | Multiple customers’ printed kits are mixed | Customer/order ID on components and packages |
| Exhibition contractor | Long parts do not fit the planned vehicle or access route | Actual package dimensions and handling requirements |
| Brand team using regional crews | Nobody knows what should return after the event | Dispatch and return quantities with condition records |
Ask the supplier to reconcile the list with the approved quotation and drawing. Optional items should be labeled as optional or excluded, not quietly assumed to be in the box. Quantities below are fields to complete, not a universal bill of materials.
| Component group | Identification and quantity to record | Check before dispatch |
|---|---|---|
| Frame or main support system | Model, part references, count and compatible size | Condition and completeness against the model’s parts list |
| Roof or canopy cover | Model, size, artwork revision and cover ID | Correct print, attachments and approved construction |
| Full and half walls | Individual panel ID, size, quantity and orientation | Correct openings, closure side and graphics |
| Counter graphics and compatible hardware | Panel/module IDs and supplied fittings | Counter layout agrees with the approved entrance arrangement |
| Connections and fasteners | Exact part references and counts | No missing, damaged or incompatible pieces |
| Site securing equipment | Approved system, quantities and supply responsibility | Venue-specific plan and what is supplied locally |
| Tools and approved spares | Item references and quantities | Suitable for this system, not improvised substitutes |
| Bags, sleeves, cases and labels | Package IDs and component assignment | Protection, closures and readable identification |
| Documents | Manual revision, configuration and inspection records | Correct model and accessible copy for the crew |
For an inflatable system, add the specified pump or blower, electrical requirements, valves and compatible repair items as applicable. Airtight and continuous-airflow systems have different equipment needs. Do not add a blower to every tent packing list merely because the product has inflated beams.
Two covers can have the same dimensions but different campaign messages, languages or fastening arrangements. Give each printed piece an ID tied to the artwork revision and its position in the assembled tent. A floor-plan reference such as “rear wall, inside face” is clearer than “blue panel.”
For double-sided graphics, identify both faces. For panels designed to join visually, record their sequence. If a doorway, window or counter removes part of an image, keep the operating layout with the print proof so a replacement order does not restore an obsolete arrangement.
Ask whether the supplier can provide labels on suitable locations or on the protective packaging. Labels must not damage the print, interfere with closures or conceal required product markings. Keep a plain-language label as well as any QR code, so the kit remains identifiable without a working phone connection.
A complete kit may be impractical if its longest part cannot pass through the loading entrance or its packages cannot be handled as planned. Request measured package data for the actual order, not the open tent’s footprint.
| Package field | Required detail | Decision it supports |
|---|---|---|
| Package ID | Unique ID and package count, such as 2 of 5 | Finding missing packages at receipt |
| Contents | Component IDs and quantities | Locating the correct item without emptying every bag |
| Outside dimensions | Length x width x height, with units | Vehicle, doorway and storage fit |
| Gross mass | Package plus contents, in kg | Appropriate handling arrangements |
| Protection | Bag, sleeve, carton, crate or other agreed method | Damage prevention for that component |
| Handling information | Orientation, lifting points or equipment where specified | Safe movement under the supplier’s instructions |
| Destination | Customer, venue or warehouse reference | Avoiding mixed consignments |
The longest package, heaviest package and total consignment mass answer different questions. A total mass does not prove that individual packages can be lifted manually. Have the responsible logistics team assess handling, vehicle restraint and access for the actual shipment.
Imagine two regional kits using the same canopy model. Each dispatch calls for one printed roof and three walls. The warehouse counts one roof and three walls, but one wall carries last year’s offer. The quantity check passes; the customer-facing display fails.
This is an illustrative scenario, not a BESDA customer case. The correction is a second check against panel IDs and artwork revisions, followed by a layout photo or another agreed identity check. For a fleet, assign a kit ID that links the structure, current graphics and package list. Record any approved exchange of parts rather than silently borrowing from another kit.
During manufacture, frame preparation or fabrication, textile cutting, printing and joining, finishing and inspection depend on the chosen system. The packing stage should preserve those component identities. A heavier fabric or a thicker tube is not enough information to verify a complete, compatible kit; request the actual material and connection specifications.
Keep the manual, configuration drawing and inspection record accessible before the structural packages are opened. Agree how parts will be laid out and counted without obstructing the venue. Protect covers from dirty ground and sharp hardware during handling.
Ask the supplier how covers should be removed, folded or retained on the frame for that model. Some folding systems permit a cover to remain fitted in a specified way; sectional tents can require a different process. Do not force a frame closed over trapped fabric or change the erection sequence to suit a tight bag.
Anchors, ballast and connections must follow the approved installation plan. Their presence on the list does not establish that the quantity is adequate for a different surface, wall layout or weather condition. Escalate missing safety-critical equipment; do not mark the kit ready for use until the issue is resolved.
Use three condition states: ready, needs attention and unavailable. A damaged fitting can be physically present but still make the kit incomplete for use. Record the fault, isolate the affected component and obtain a compatible replacement or approved repair.
Textiles should be cleaned and fully dried according to their care instructions before long-term storage. If a wet pack-down is unavoidable, arrange prompt unpacking and drying at a suitable location. Do not seal the damp kit in storage and label it ready. Separate sharp or dirty hardware from printed fabric using the specified protection.
Store the returned list with missing quantities, condition, cleaning/drying status, repair reference and the next inspection date. Replace an obsolete graphic deliberately and update the record. The person sending the next kit should not have to guess what happened at the last event.
| Feature | Operational advantage | Buyer benefit |
|---|---|---|
| Model-specific part references | Makes compatibility checkable | Fewer unsuitable replacement purchases |
| Printed panel IDs and revisions | Separates campaign identity from size | Reduces the chance of displaying outdated messages |
| Measured package schedule | Gives logistics usable dimensions and mass | Earlier vehicle and handling decisions |
| Dispatch/return condition record | Exposes missing or damaged items before reuse | More time to resolve problems before the event |
These are benefits of the proposed record system, not measured savings or guarantees. Ask which documentation and labeling options can be included in the actual order.
BESDA BRANDING TENT offers printed event shelter options, serves buyers in 150+ countries and has received five-star customer feedback. Bring the complete campaign brief: structure, roof, walls, graphics, accessories and transport needs.
Request a model-specific quotation and confirm the supplied component list, packaging, artwork references and supporting instructions in writing. Compare suppliers on those deliverables as well as the tent price. A quotation that leaves essential items or packing information unresolved is harder to evaluate, even when its headline price looks attractive.
Not always. A shipping list may identify cartons rather than individual compatible parts and printed revisions. Link it to a component list and configuration record.
Only where compatibility is confirmed for the actual models and parts. Nominal tent size does not establish connection compatibility.
Follow the supplied instructions for that model. There is no single answer for folding canopies and sectional frame marquees.
Arrange cleaning and complete drying according to its instructions before storage. Keep the kit out of the ready status until the necessary checks are complete.
Outdoor Event Tent Site Survey: A Checklist Before You Request Quotes
Read the guide and compare the requirements with your event brief.
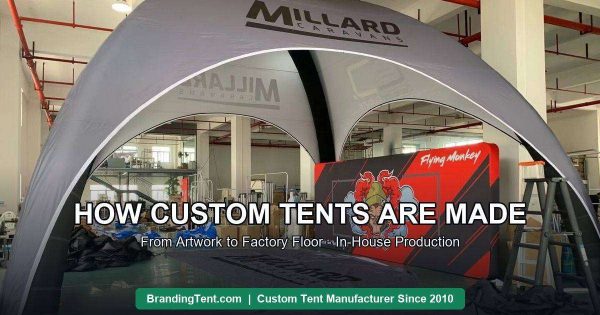
How Custom Tents Are Made: From Artwork to Factory Floor
Read the guide and compare the requirements with your event brief.
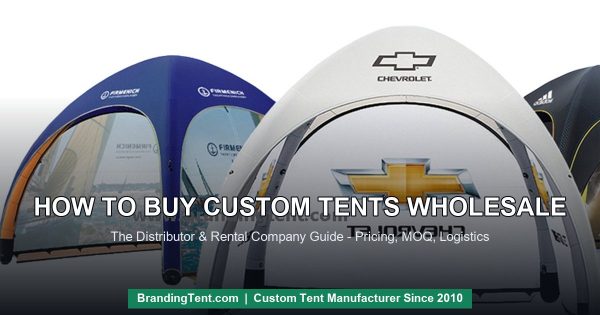
How to Buy Custom Tents Wholesale: The Distributor & Rental Company Guide
Read the guide and compare the requirements with your event brief.
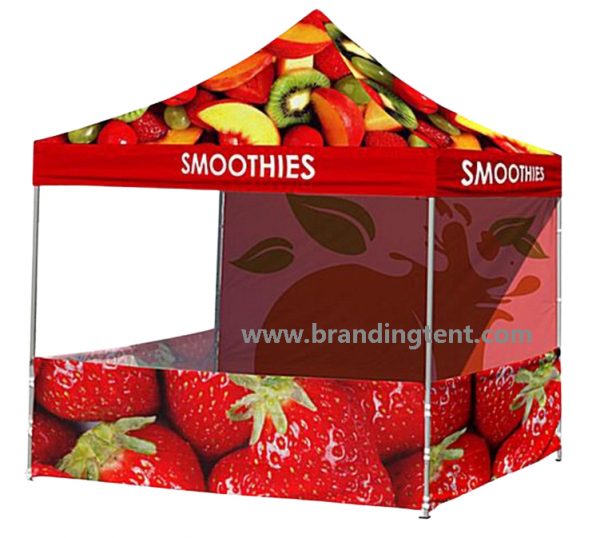
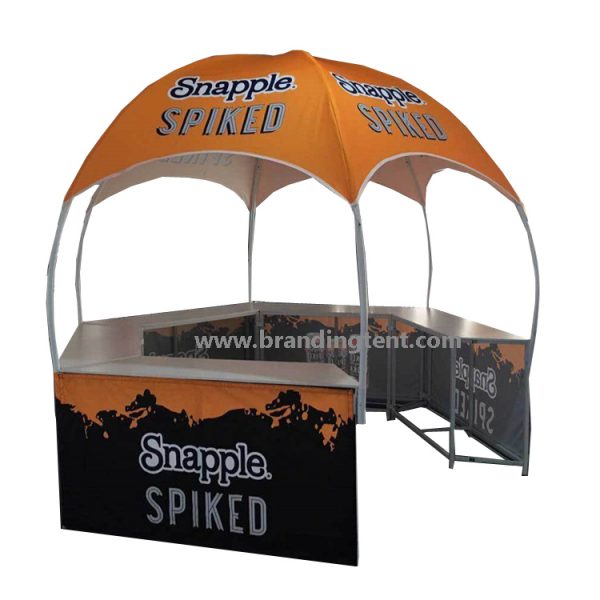
Existing website product images illustrate printing and layout. Confirm the actual model and specification; images are not proof of fit, performance or customer endorsement.
Send the country, venue use, model or preferred shape, size, quantity, current graphics and required arrival date. Include the wall/counter layout, transport restrictions and whether you need repeat-event kit identification. Ask us to separate inclusions, options and locally supplied items.
Discuss My Event Kit on WhatsApp