Phone:
0086-757-8938 9313
Email:
Address:
Caochang Industrial Zone, Liguang Rd, Lishui, Nanhai, Foshan, Guangdong, China
24/7 online services

Phone:
0086-757-8938 9313
Email:
Address:
Caochang Industrial Zone, Liguang Rd, Lishui, Nanhai, Foshan, Guangdong, China
24/7 online services
Table cover logo placement is the difference between a branded booth and a branded tablecloth. The same printed logo can sit at eye level on a front panel, wrap four faces in full colour, or vanish in a seam. The decision is made in the artwork file weeks before the show opens. This guide sets out the print zones for 4ft to 8ft tables, the logo sizes that survive a crowded hall, the stretch cover problem and its fixes, and the artwork rules that keep a first print from becoming a reprint. Scope note: these are event-grade printed covers for trade shows, exhibitions and promo programmes, not household textiles. Every number below is a spec you can put in a purchase order.
A table cover offers four printing surfaces, and buyers choose between them by how visitors move. The front panel is the primary zone, because it faces the aisle the visitor walks. The side faces matter at corner booths and double-sided aisles. The top surface reads from a distance and from overhead photography. And the valance, the drape below the table top on a throw cover, is the band people actually see when chairs and boxes crowd the floor behind the table.
Cover construction decides which of those surfaces print well:
Two buyer groups argue about logo placement, and both argue from distance. The exhibitor books a 10×10 shell scheme where visitors pass at one to two metres, so the front panel is the whole billboard. The distributor supplying a hundred booth kits cares about a different number. That is whether one artwork file survives four table sizes, three cover types and two print orientations without a hundred proofs.
The industry numbers explain the stakes. A standard 6ft front-panel print area runs about 36 by 17 inches. A full-bleed 8ft four-sided cover carries about 150.5 by 84 inches of printed area, sixteen times the space. Visitors read a table from one to two metres in a hall. Display practice puts one inch of letter height per ten feet of viewing distance, with a conservative one-inch-per-thirty-feet rule for cluttered floors. Small logos survive that arithmetic. Timid ones do not.
| Feature | Advantage | Benefit |
| Front panel zone sized to the table | Logo sits at seated eye level, centred | Visitors read the brand before they reach the table |
| Full-bleed dye-sublimation | Ink bonds into the fibre, colour wraps every face | The booth reads as one branded unit from any aisle |
| Vector-first artwork check | Files verified against the seam map before printing | No pixelated logo appears on the show floor |
| Pre-distortion for stretch covers | Artwork compensated for elastic pull | The logo stays proportional when the cover is fitted |
| Pantone-matched printing | Brand colours matched to a coated reference | One colour holds across tents, flags and covers |
| Low MOQ with sample loop | A proof panel runs before the full set | A single booth order still ships as specified |
Print zones are quoted from the cloth, not the table. The table below lists the common zones and whole-cloth dimensions for the sizes we produce. Figures are typical for the class. The written specification for your order states the exact printable area after the seam map is drawn.
| Table and cover | Whole cloth size | Front panel print area | Full-bleed option |
| 6ft throw, standard print | about 91 x 152 cm drape | about 91 x 43 cm (36 x 17 in) | Upgrade paths to about 183 x 61 cm |
| 6ft full-colour fitted | shaped to 183 x 76 x 76 cm table | about 76 x 152 cm usable face | All faces printed, seams placed at corners |
| 8ft convertible fitted | about 244 x 74 x 69 cm cloth | front face of about 244 x 69 cm | about 382 x 213 cm total printed area (150.5 x 84 in) |
| 4ft fitted | shaped to 122 x 61 x 76 cm table | about 61 x 76 cm face | Full-bleed on request for compact booths |
| Table runner over plain cover | about 30 x 183 cm strip | centre band of the runner | Runner only, cover stays blank cloth |
Three readings from that table shape most orders. First, the standard 6ft front zone of about 36 by 17 inches fits a centred logo and one line of text, nothing more. Second, the full-bleed route prints faces, not panels, so the artwork is designed as a wrap with seam placement agreed in advance. Third, the runner exists for buyers who change messages often. A new runner costs a fraction of a new cover and prints in the same loop.
Placement has converged on a handful of rules that hold across markets:
The sizing rule is display-industry standard. One inch of capital-to-baseline letter height covers ten feet of viewing distance, doubled in practice for cluttered exhibition floors. A visitor at one to two metres reads lettering from about half an inch tall, but booth traffic rarely grants a clean line of sight, so the working numbers are higher. A main logo around 2 inches (5 cm) tall holds at table distance. A hero wordmark runs 2 to 4 inches on the front panel, and valance lettering can run taller because nobody stands closer than the table edge.
Two corrections keep the rule honest. All-capital text needs about 15 percent more height than mixed case to read at the same distance. And contrast moves the number as much as size does. A light logo on a dark cover reads larger than the same logo in similar tones, which is why colour planning belongs in the same conversation as letter height.
Compared for print behaviour, the three cover families are different products. The throw is the safe canvas. The fitted cover is the full-bleed wrap. The stretch cover is the one that punishes unprepared artwork.
| Cover type | Print behaviour | Logo risk | Best job |
| Flat polyester throw | Dye-sub prints flat and true | Lowest | One-colour and full-colour logos, longest fabric life |
| Fitted cover | Panel seams placed at corners | Low, if artwork respects seam map | Clean boxy look, all-face branding |
| Stretch (spandex) cover | Elastic pulls the print in two directions | Distortion unless pre-compensated | Modern curved look with compensated artwork |
| Convertible 6/8ft | One cloth serves two table lengths | Artwork must sit clear of the fold zones | Rental fleets and shared booth kits |
| Runner on plain cover | Print concentrated in one band | Band edges crowd tall logos | Budget refresh of existing covers |
The stretch row deserves the story behind it. Buyers occasionally return a spandex cover because the front logo pulled wide once the cover was fitted. The fix is decided in design, not on the show floor. Compensate the artwork for the expected stretch, or move the logo to a sewn flat-fabric panel. We check compensation on a fitted sample before production, which is why the proof panel stage exists.
Straight answer: more print is not always better branding. A one-colour logo on blank cloth reads faster in a hall full of busy wraps, and it costs a fraction of the artwork preparation. Dark artwork on a dark cover fails the contrast test no matter how large it prints. Files that only exist as low-resolution web images cannot be rescued by a bigger print area, because at cloth scale a 1024 pixel image is near 14 dpi. And a booth that already carries two branded banners often reads cleaner with a plain cover and a printed runner. The honest sequence is to choose the message first, then the smallest zone that carries it.
Scope discipline applies to materials as well. These are event-grade printed covers for exhibition and promo use, not permanent architectural graphics. A cover is not a substitute for the branded structures above it. When a programme needs a full branded environment, the cover is one layer in a kit with the tent and the displays, ordered from the same artwork master.
Eight steps take a brief from table size to a printable file:
Every ruined cover in our QC photos traces to one of a short list of decisions made too late:
The file table below is the one we attach to every quotation, because artwork is where print projects are won or lost.
| File item | Requirement | Why it matters |
| Vector artwork | AI or PDF with fonts converted to outlines | Vectors scale to the cloth with no edge roughness |
| Raster images | 150 dpi at full printed size, 300 dpi preferred | A 1024 px web image is near 14 dpi at cloth scale |
| Bleed | about 25 mm (1 in) beyond the cut line | Cutting tolerances never show as white slivers |
| Safe zone | about 13 mm (0.5 in) inside the print edge | Keeps the logo clear of hems and seams |
| Colour reference | Pantone Coated numbers for brand colours | RGB screen values shift on fabric |
| Seam map | Supplier layout showing panel joins | Logos never sit across a stitch line |
One more warning belongs next to that table: AI-generated images are not print files. A typical 1024 pixel generation lands near 14 dpi on a table cover. A 72 inch wide cloth would need roughly 10,800 pixels of true raster width. Generated concepts can guide the design, but the file that goes to the printer is rebuilt as vector artwork or re-drawn at full resolution.
Printed covers run on a short, repeatable loop. The QC photo step is where a distributor verifies a hundred-kits order without flying to the factory.
| Stage | What happens | Typical time |
| Brief | Table sizes, cover types, print faces, brand colours | Same day |
| Mockup | Layout drawing with seam map and logo dimensions | 1 to 2 days |
| Sample or proof panel | Printed panel or full sample cover for approval | 3 to 7 days |
| Order confirmation | Deposit, packing list, delivery terms | 1 day |
| Production | Printing, cutting, sewing, QC photos | 7 to 15 days |
| Pre-shipment check | Covers photographed fitted on tables, carton list issued | 1 to 2 days |
| Shipping | Sea, air or express with documents attached | Depends on route |
Wholesale pricing scales with quantity and low MOQ orders are accepted. That is how a single booth order becomes a season fleet. Reorders land faster than first orders because the seam map, colour references and cutting patterns stay on file under your artwork master.
Dye-sublimation ink bonds into the fibre, so the print survives washing better than surface prints do. Wash in warm water with mild detergent, skip bleach and abrasive brushes, and air dry rather than tumble. Fold covers with the print face inward for storage, and keep them dry in their bag, because damp folds grow mildew lines that no wash removes. Covers that travel between shows live longer rolled than folded. A spare blank cover in the kit covers the day a printed one stays at the laundry.
Distributors quoting across markets meet the same product under different names. The buying habits shift with the word:
| Market | What buyers call it | Buying habit |
| United States, Canada | table throw, fitted table cover, 6ft or 8ft | Buys by table size in feet, asks for full-colour dye-sub |
| United Kingdom | printed tablecloth, promo table cover | Wants washable fabric and a proof panel first |
| Germany, Austria | Werbetischdecke, Messe-Tischdecke | Asks for exact Pantone match and seam map |
| France, Belgium | nappe de stand, nappe publicitaire | Front valance print with a clean finish |
| Spain, Mexico, Chile | mantel publicitario | Prints both faces for double-sided aisles |
| Middle East | table cover with logo | White covers with bold colour bands for exhibition halls |
| Australia, New Zealand | trestle table cover | UV-safe inks for outdoor market use |
Table cover logo placement works when three decisions land together. The front panel carries one hero logo sized to the viewing distance. The seam map is agreed before artwork is drawn. The file arrives as outlined vector art with Pantone references. Choose the smallest print zone that carries the message, compensate stretch covers in design, and approve a proof panel before the full run. Send us the table sizes, the booth plan and the brand files, and we will return a seam map, a mockup and a written specification sized to your show season.
Front and centre on the front panel, sized to sit clear of seams and hems. That panel is the surface visitors face while standing or sitting across the table, so it carries the brand at the reading distance that matters. Side faces earn their print only when aisles pass beside the table. The top surface reads mostly from a distance or from above, which is why full-bleed printing saves it for large booths.
Use the display rule of one inch of letter height per ten feet of viewing distance. Visitors read a table from about one to two metres, so a main logo around 2 inches (5 cm) tall holds up. A hero wordmark for the front panel works in the 2 to 4 inch band. All-capital lettering needs roughly 15 percent more height to read as clearly as mixed case.
Yes. Fitted and convertible covers print on the front, both sides and the top as one full-bleed file. An 8ft four-sided cover carries about 150.5 by 84 inches of total printed area, against about 36 by 17 inches on a standard 6ft front panel. That is the difference between a branded booth and a branded tablecloth.
Vector AI or PDF with fonts converted to outlines is preferred. Raster artwork works at 150 dpi minimum at full printed size, 300 dpi preferred, with about 1 inch of bleed and a 0.5 inch safe zone. Brand colours are matched to Pantone Coated numbers, and we return a seam-map layout before anything prints.
It can, because elastic pulls the printed area in two directions once the cover is fitted. The fixes are known: compensate the artwork in the design stage for the expected stretch, or keep the logo on a sewn patch panel of flat fabric. We recommend the pre-compensation route and check it on a fitted sample before production.
Low MOQ orders are accepted and wholesale pricing scales with quantity, so a single booth set is a normal first order. Samples and proof panels run in about 3 to 7 days. Production lands about 7 to 15 days after artwork approval, with every cover photographed fitted before packing.
| Item | Detail |
| Manufacturer | Besda BrandingTent, tent and display factory in Foshan, China, since 2010 |
| Product scope | Table covers 4ft to 8ft, throws and fitted, stretch covers, table runners, plus tents and displays |
| Print zones | Front panel standard zones, full-bleed all-face printing, runner bands, convertible 6/8ft |
| Printing | Dye-sublimation full colour, Pantone matched, vector artwork preferred |
| Artwork check | Seam map and mockup returned before production, fonts outlined, bleed and safe zones marked |
| Fabrics | Flat polyester, fitted oxford, stretch spandex class, washable finishes |
| Fire certificates | Flame retardancy options with EN 13501-1, NFPA 701, CPAI-84 references, copies on request |
| Custom work | Custom sizes beyond 4ft to 8ft, multi-face print, pocket and leg cutout options |
| Low MOQ | Low MOQ accepted, wholesale pricing scales with quantity |
| Lead time | About 7 to 15 days production after artwork approval, samples in 3 to 7 days |
| Quality gate | Every cover photographed fitted on a table before packing, video on request |
| Contact | WhatsApp +86 135 1661 0926, [email protected], reply within 1 hour |
Related reading: Trade Show Table Covers: 6ft vs 8ft, Throw vs Stretch · Custom Tent Printing: Dye-Sub vs Screen vs Transfer · Pop Up Display vs Roll Up Banner: Which Booth Backwall? · Canopy Sidewalls: Solid, Mesh, Window and Door Panels · Golf Tournament Tents: Sizes, Turf Rules and Setup
💬 Chat on WhatsApp Now✉ Email Us Now
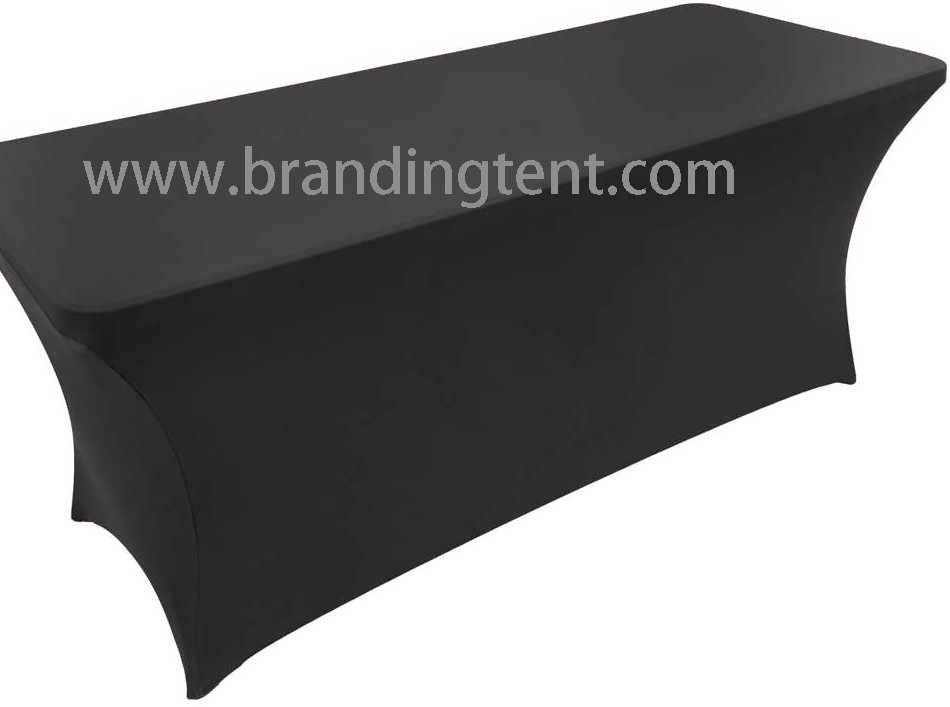
Custom Table Covers
Fitted and throw 4ft-8ft
Custom Outdoor Tables
Folding tables 4ft-8ft
Custom Roll Up Banners
Portable stands
Tell us the tent size, the ground and weather it has to handle and the destination market. Our tent specialists reply within 1 hour, 24×7 online service, with a free mockup, written specifications and factory-direct pricing.