Phone:
0086-757-8938 9313
Email:
Address:
Caochang Industrial Zone, Liguang Rd, Lishui, Nanhai, Foshan, Guangdong, China
24/7 online services

Phone:
0086-757-8938 9313
Email:
Address:
Caochang Industrial Zone, Liguang Rd, Lishui, Nanhai, Foshan, Guangdong, China
24/7 online services
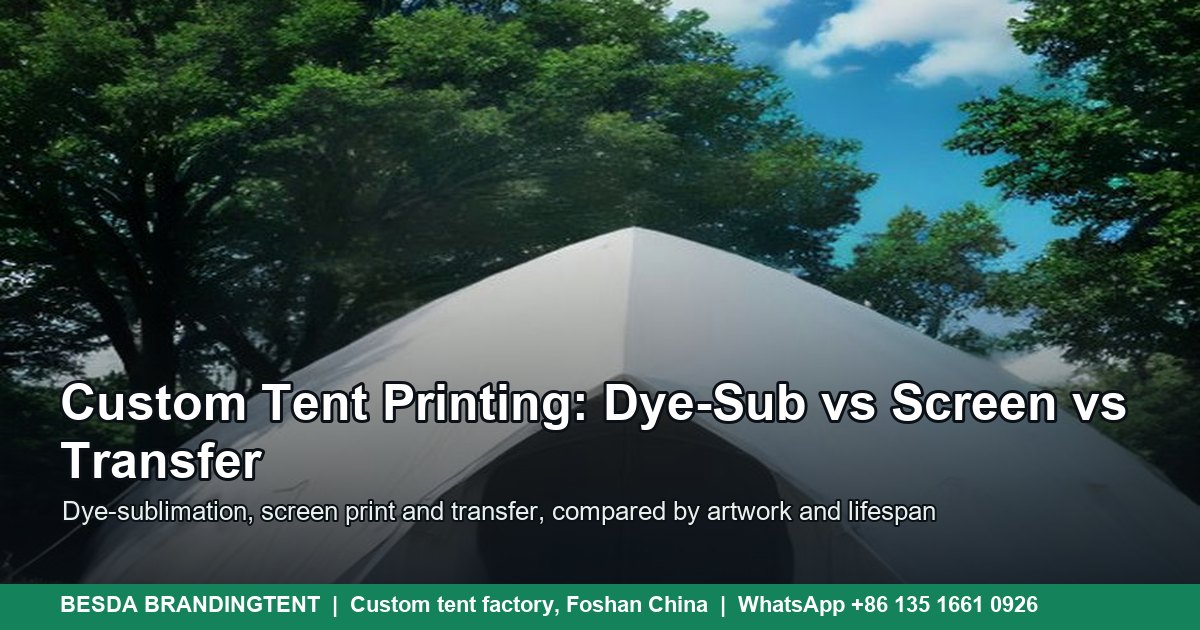
Custom tent printing on event-grade fabric is not the same job as printing a poster. A tent roof flexes, a wall folds, a valance rubs against a frame and the whole surface sits in the sun for days. The print has to survive tension, rain, cleaning and packing. A process that looks good on a flat sample can fail after the first season.
There are three main processes for branded tent fabric: dye-sublimation, screen printing and heat transfer. Each one fits a different artwork, fabric and order size. The right choice is usually clear once you know the fabric, the number of colors and the expected lifespan. The custom pagoda tents and custom dome tents pages show the fabric bases these processes are used on.
This guide is for brand teams, agencies, rental companies, distributors and procurement staff who order printed tents, canopies, gazebos, marquees and carpas. It explains how each process works, where it fails, how to prepare files and what to check before bulk production.
One warning before the details: the fabric decides the process more than the printer does. Dye-sublimation needs polyester. A PVC-coated tent wall cannot be dye-sublimated in the same way. If a supplier promises any process on any fabric, ask for a sample on the actual cloth.
Dye-sublimation uses disperse ink and heat. The printed transfer paper meets the fabric in a calender at about 200°C (380-400°F). The ink turns to gas and moves into the polyester fibers. When the fabric cools, the color is inside the fiber, not on top of it.
That is why a good dye-sub print does not crack like a transfer. There is no film layer to peel. The surface keeps the hand of the fabric, and the print can survive folding and washing. The catch is material: the process needs a high polyester content and a light base. Cotton blends take less ink, and dark fabric cannot be lightened because there is no white ink.
Dye-sublimation is the best fit for full-color artwork, photographs and gradients. It also handles unlimited colors at no extra setup cost per color, which makes it practical for a brand roof with a complex design. The weak points are color accuracy on some shades and print loss at seams if the layout is not planned.
For a tent, the print usually goes on 300D or 600D polyester oxford. The 600D cloth is heavier and more abrasion-resistant, which suits rental fleets. The 300D cloth is lighter and packs smaller. Both can be dye-sublimated if the polyester content and coating are right. Ask for the fabric composition in writing, not just the denier.
Screen printing pushes ink through a mesh stencil. Each color needs its own screen, so the setup grows with the color count. The ink sits on the fabric surface in a thicker layer. That gives a bold, opaque mark that can work well on dark cloth and on simple logos.
Screen printing is a good fit for one to three spot colors and a large order. The setup cost per color is high, but the per-unit cost drops at volume. If a rental fleet needs the same two-color logo on hundreds of walls, screen printing can be economical. If the artwork has a photo or a gradient, it is the wrong process.
The feel is different from dye-sublimation. A screen print has a raised hand, and a large solid area can feel stiff. On a tent wall that folds, a thick ink layer can crack at the fold line over time. The print also sits on the coating, so adhesion depends on the fabric and the curing. Ask for a wash or rub test on the actual cloth.
Screen printing works on more fabrics than dye-sublimation, including some blends and coated surfaces. That makes it useful for a one-color mark on a PVC wall or a heavy oxford. It is less useful for a full-surface brand pattern, where the color count and the coverage make the setup impractical.
Heat transfer prints an image onto a film or paper, then presses it onto the fabric with heat and pressure. It is a practical choice for a small logo, a name or a short run. The equipment is common, the setup is fast and the minimum order can be low.
The trade-off is durability. A transfer sits on the surface, so it can lift at the edges, crack at a fold or fade faster than a dye-sub print. A good film on a smooth fabric can last several seasons indoors. A cheap film on a coated outdoor fabric can fail in one season. If the tent is used outdoors and packed wet, a transfer is a weak point.
Cut vinyl is a similar idea for simple letters and one-color marks. It is useful for a prototype, a photo shoot or a short campaign. It is not the right process for a detailed logo, a gradient or a surface that will be folded many times. Vinyl edges catch on bags and crates, and a lifted edge is hard to repair on site.
Use transfer and vinyl when the job is small, the deadline is short and the tent is not a long-term asset. Do not use them for a rental fleet or a brand program that runs for several seasons. The lower setup cost is real, but the replacement cost arrives sooner.
| Method | How it works | Best artwork | Typical lifespan | Watch-out |
| Dye-sublimation | Heat turns disperse ink into gas; it bonds inside polyester fibers | Photos, gradients, unlimited colors | 3-5 years outdoor with care | Polyester only; light base; no white ink |
| Screen printing | Ink pushed through a mesh stencil; one screen per color | 1-3 spot colors, bold marks | 3-5 years | Setup cost per color; thick ink hand |
| Heat transfer | Printed film or paper pressed onto the fabric | Small logos, names, short runs | 1-3 years | Raised hand; edge lift on cheap film |
| Cut vinyl | Vinyl film cut and pressed onto the surface | Simple letters, one-color marks | 1-3 years | Limited detail; peeling at edges |
| UV / latex | Print head deposits ink onto the surface, cured by light or heat | PVC and coated surfaces | 2-4 years | Not a fiber bond; surface wear |
The table above is the short version. The longer version depends on three questions: what is the artwork, what is the fabric and how long must the print last? Answer those three before you compare unit numbers, because a cheap process on the wrong fabric is not cheap after the first replacement.
For a full-color tent roof, dye-sublimation is usually the only practical choice. For a two-color logo on a heavy wall, screen printing can be the better production route at volume. For a small logo on a sample or a short campaign, transfer is enough. For a one-color mark on a curved or coated surface, a surface print may be the only option.
Ask the supplier to name the process in the quote. A quote that says printed fabric without naming the process is hard to compare. Ask for the fabric composition, the ink type, the color target and the test reports. Those four items tell you more than a photo of a finished tent.
Dye-sublimation needs polyester. The higher the polyester content, the better the ink bond. A 100% polyester oxford is the safe choice. A polyester-cotton blend takes less ink and can look washed out. A 100% cotton canvas is not a dye-sub fabric.
The coating also matters. A PU coating can affect the way the ink bonds and the way the fabric feels. A PVC coating creates a surface that dye-sublimation cannot penetrate in the same way. For a PVC-coated wall, the practical routes are UV print, latex print or transfer. Each one sits on the surface, so the durability and the hand are different.
| Fabric | Dye-sub fit | Screen fit | Transfer fit | Notes |
| 100% polyester oxford 300D | Excellent | Good | Good | Light-duty canopy, walls |
| 100% polyester oxford 600D | Excellent | Good | Good | Heavy-duty canopy, rental |
| Polyester-cotton blend | Poor | Good | Good | Cotton limits dye-sub |
| PVC-coated tarpaulin | Not suitable | Limited | Good | Use UV, latex or transfer |
| Acrylic canvas | Not suitable | Limited | Limited | Surface print or dye another way |
| Nylon | Limited | Good | Good | Check heat sensitivity |
Denier is only one number. A 600D fabric from one mill can behave differently from a 600D fabric from another. Ask for the fabric weight in gsm, the coating type, the water column and the fire treatment. If the tent is going to a venue with a fire rule, ask for the certificate before the print run, not after.
For walls and roofs that must match, use the same fabric base and the same print process. A roof printed by dye-sub and a wall printed by UV can look close in a photo and different under venue light. If the brand color is critical, print a strike-off on both fabrics and compare them side by side.
Exact Pantone matching on fabric is difficult. The color you see on a coated paper swatch is not the color a textile printer can produce on a woven, coated cloth. A realistic target is a measured color difference, not a promise of a perfect match. Ask for the target in ΔE and the light source used to measure it.
A ΔE of 3 or less is a good target for many brand colors. A ΔE of 5 is common in textile print. Yellow and gold often match better than deep blues and greens. Dark shades on dark fabric are harder because the base influences the result. If the brand color is a deep navy or a bright red, ask for a strike-off before bulk.
The measurement conditions matter. A color measured under D65 daylight can look different under the warm light of a hotel ballroom. Ask the supplier to state the light source and the device. If two suppliers give you a ΔE number without those details, the numbers are not comparable.
Batch variation is the other half of color control. Two rolls of the same fabric can take ink differently. A serious supplier keeps a retained sample from each batch and compares the new print to it. Ask how the factory handles a shade change between the sample and the bulk. The answer tells you whether the color process is controlled or improvised.
A tent is not a flat sheet. It is cut into panels, sewn together and fitted over a frame. The seams, zippers and frame lines create interruptions. A logo that crosses a seam can break, and a face that crosses a zipper can look distorted. The layout has to respect the build.
Keep critical artwork at least 6 in (150 mm) from seams, zippers and frame lines. That is a working safe zone, not a guarantee. On a curved roof or a tension wall, the fabric moves more, so a wider margin is safer. Ask for a panel template that shows the seam positions and the frame lines.
Printing across a seam is possible, but it needs planning. The two panels must be cut from the same print run and aligned at the seam. A small mismatch is normal. A large mismatch looks like a production error. If the design has a continuous stripe or a large circle, decide whether it should cross the seam or stop before it.
Zippers are a separate risk. A printed zipper tape can look good when flat and rub when used. If the design runs across a door, keep the key logo on the wall panel, not on the door. The door moves, the wall does not.
A print file that looks sharp on a laptop can be soft on a 3 m wall. The safe rule is 1:1 at 100-150 dpi, or 1:10 at 300 dpi. Vector logos should stay vector. Photographs should be high enough resolution at final size, not enlarged from a web image.
| Item | Spec | Why it matters |
| Scale | 1:1 at 100-150 dpi, or 1:10 at 300 dpi | Enough detail without a giant file |
| Color mode | CMYK | Printers do not print RGB |
| Fonts | Converted to outlines | No font substitution at the RIP |
| Bleed | 20-30 mm beyond the cut line | Covers fabric movement and seam allowance |
| Safe zone | 6 in (150 mm) from seams, zippers and frame lines | Keeps logos and faces intact |
| Format | PDF, AI or EPS | Vector edges and editable layout |
| Black | Rich black only where specified | Flat black can look gray on fabric |
Convert fonts to outlines. A missing font at the print shop can change spacing and turn a clean logo into a different design. Add 20-30 mm of bleed beyond the cut line. Keep a 6 in safe zone around seams. Use CMYK, and ask for a proof before the full run.
If the artwork includes a QR code, test it on the printed sample, not just on the screen. A code that is too small, too low in contrast or printed on a curved surface can fail. Print it at the final size and scan it from the distance a visitor will use.
A digital mockup is the first check. It shows the layout on the tent shape, the panel splits and the color as it appears on a screen. It is useful for placement, not for color. A screen cannot show how ink behaves on cloth.
A strike-off is the second check. The supplier prints a small sample on the actual fabric with the actual ink. You approve the color and the hand under a stated light. A strike-off costs time, but it catches the failures that a screen mockup hides: a shifted shade, a weak black, a logo that disappears into the base color.
The third check is the first production piece. Ask for a photo or a short video of the printed panel before the full run is sewn. If the run is large, ask for a photo of the first assembled tent. The earlier a color or alignment problem is found, the cheaper it is to fix.
Keep the approved strike-off and the signed mockup. When the next order comes, compare the new strike-off to the retained sample. A brand color that drifts between seasons is hard to spot without a physical reference.
A printed tent should be checked as a built product, not as a flat print. The panels must line up, the logos must sit in the right place and the color must match the approved target. The frame and the print are checked together because the frame changes the way the fabric sits.
| Check | Method | Pass mark |
| Color | Spectrophotometer against the approved target | ΔE within the agreed limit |
| Print position | Measure from seam to logo | Within 3-5 mm of the approved layout |
| Seam alignment | Inspect pattern across the join | No visible break in a straight line |
| Adhesion | Wash or rub test on a sample | No cracking or lift |
| Light fastness | ISO 105-B02/B04 report | Grade 4-5 typical |
| Dimension | Measure the finished panel | Within the agreed tolerance |
| Whole tent | Assemble and photograph | Panels line up; no missing parts |
Ask for the QC record with the shipment. A photo of the assembled tent, a color reading and a dimension check are simple documents that prevent arguments later. If the order is for a rental fleet, ask for a spare parts list and a panel map so a damaged wall can be replaced without reprinting the whole tent.
Check the packing too. A printed panel that is folded tight for a long sea freight can take a hard crease. A roll or a loose fold protects the print. If the tent will be stored for months before the event, ask for a breathable bag and a desiccant pack.
A printed tent is a textile, not a sign. It needs cleaning, dry storage and a little attention to the zippers. Wash with cold water and mild soap. Do not use bleach, solvent or a high-pressure washer. Rinse the soap completely and dry the fabric before it goes into storage.
| Task | Method | Avoid |
| Wash | Cold water, mild soap, soft brush | Bleach, solvent, high heat |
| Dry | Hang or lay flat, out of direct sun | Tumble dryer, radiator |
| Store | Roll or fold loosely, dry, breathable bag | Damp storage, sealed plastic |
| Zipper | Brush out grit, apply wax or silicone | Force, sand, salt |
| Stain | Blot, then mild soap; test a hidden area | Abrasive pad, strong chemical |
A well-made dye-sub print on 600D polyester can last 3-5 years outdoors with care. A transfer or a vinyl mark may last 1-3 years. The difference comes from sun, cleaning and storage. A tent that is packed wet and left in a hot container can fail in one season, even with a good print.
Inspect the print after each season. Look at the fold lines, the seams and the areas that rub against the frame. A small repair with a patch or a reprint of one panel is cheaper than a new tent. Keep a note of the fabric batch and the print file so the repair matches.
Most print problems are decided before the printer starts. These are the mistakes that appear in claims and in reprints.
A print spec sheet prevents most of these. It names the fabric, the process, the color target, the file requirements, the safe zones and the approval steps. The supplier and the buyer sign the same sheet, so there is one version of the truth.
Full-surface printing is not always the right spend. If the tent is used once, for a single event, a simpler one-color logo may be enough. If the tent is a utility asset that stays in the warehouse, a printed roof is a cost without a return. If the brand changes its identity every year, a full print locks in a design that will date.
It is also the wrong choice when the fabric is a dark PVC and the artwork depends on white. The process cannot produce the brightness of a paper print. A white patch or a different fabric is the better route. And if the deadline is too short for a strike-off, a full-color print is a risk; a simpler mark or a stock color is safer.
For a rental fleet, the math is different. A printed tent that runs for several seasons spreads the print cost over many events. A plain tent with a removable banner may be more flexible if clients want different brands. Decide whether the tent is a brand asset or a neutral rental unit before you print the whole surface.
Use this checklist before you approve a printed tent order. It turns a vague request into a producible spec.
| Feature | Advantage | Benefit |
| Dye-sublimation on polyester | Ink bonds into the fiber | Print does not crack or peel like a surface film |
| Seam-aware panel layout | Artwork avoids seams, zippers and frame lines | The logo stays readable after assembly |
| Pantone-to-CMYK calibration | Color target is translated with a measured tolerance | The tent matches the table cover and backwall |
| Strike-off on the actual fabric | You see the real color before bulk | No surprise batch color |
| Full-assembly QC photo | The tent is checked as built, not as a flat panel | Fewer missing parts and alignment issues |
A supplier who can answer all eight points is set up for repeat production. A supplier who answers only the first two is selling a print, not a managed process. The difference shows up in the second and third order.
In the United States and Canada, brand teams usually specify Pantone and expect a digital proof. Fire rules vary by venue, and NFPA 701 is a common request. Rental companies care about the fabric weight and the replacement panel path more than the print method, because the fleet has to survive repeated setup.
In the UK and the EU, metric files and fire documentation are standard. Germany often asks for DIN 4102 B1 or an equivalent report, and France may ask for a local language certificate. The print file should be built in millimeters, and the panel template should show the seam positions in the same units.
In Australia and New Zealand, outdoor use is hard on print. UV exposure is high, and a tent may be packed wet after a show. A dye-sub print on 600D polyester with a light-fast report is a safer choice than a transfer. In Latin America, carpas publicitarias are often printed with bold brand colors; ask for a strike-off because deep reds and greens can shift on coated cloth.
In the Middle East, tents are often used in high heat and strong light. The fabric and the ink must be stable, and the print should be checked for light fastness. A dark roof with a dark print absorbs heat, so a lighter base can be more practical. The venue may also ask for a fire certificate, so plan the paperwork with the print order.
Send the tent model, size, fabric preference, print area, artwork, color reference, fire requirement, quantity, destination and event date. If you have a panel template, send it. If you do not, ask the supplier for one before you design. A flat design made without the seam map is the most common cause of a reprint.
Ask for the process by name and the fabric by composition. Ask for a strike-off and a color reading. Ask for the QC record and the packing method. Ask what happens if the bulk color differs from the approved sample. A clear answer to that last question is a good sign of a controlled factory.
The usual timeline is a mockup, a strike-off, a deposit, bulk production and a photo check before packing. Samples usually run 3-7 days, and bulk production 7-15 days after approval. A full-surface print with a custom panel layout needs more time than a one-color logo, especially in peak season.
Keep the approved file, the strike-off and the fabric batch record. When you reorder, send them back. The second print is easier, and the color is more likely to match the first.
Yes, but not with dye-sublimation. PVC-coated fabric needs a surface process such as UV, latex or transfer. The print sits on the coating, so the hand and the durability are different from a dye-sub print on polyester. Ask for a sample on the actual PVC.
All prints fade under enough sun. A good dye-sub print on polyester can last 3-5 years outdoors with care. A transfer or vinyl mark may last 1-3 years. Light fastness reports and dry storage help, but no textile print is permanent.
Exact matches are rare on fabric. A realistic target is a measured color difference, often ΔE 3-5, with the light source stated. Yellow and gold usually match better than deep blues. Ask for a strike-off on the actual fabric before bulk.
Yes, with planning. The panels must come from the same print run and align at the seam. Small mismatches are normal. Keep critical logos and faces at least 6 in from seams, zippers and frame lines.
A PDF, AI or EPS file at 1:1, 100-150 dpi, in CMYK, with fonts outlined and 20-30 mm of bleed. Vector logos should stay vector. Send the panel template with the file so the safe zones are respected.
Yes. A digital mockup comes first, then a strike-off on the production fabric can be requested. The strike-off is the only reliable way to judge color and hand before the full run.
Low MOQ is accepted for custom printed tents. Wholesale pricing scales with quantity. A single sample and a fleet order use the same print workflow, but the setup and the schedule are different.
Use cold water and mild soap with a soft brush. Rinse fully and dry before storage. Avoid bleach, solvent, high heat and a high-pressure washer. Brush grit out of the zippers and apply wax or silicone if they stiffen.
| Item | Detail |
| Product scope | Custom printed tents, canopies, gazebos and marquees |
| Main process | Dye-sublimation on polyester; screen and transfer for specific jobs |
| Fabric | 300D or 600D polyester oxford; PVC surfaces use UV, latex or transfer |
| Print temperature | About 200°C (380-400°F) for dye-sublimation |
| Color target | Pantone to CMYK; ΔE limit stated in writing |
| Safe zone | 6 in (150 mm) from seams, zippers and frame lines |
| File spec | 1:1 at 100-150 dpi, CMYK, fonts outlined, 20-30 mm bleed |
| Proof | Digital mockup plus strike-off on the actual fabric |
| QC | Color, print position, seam alignment, assembled photo |
| Lifespan | 3-5 years outdoor for a good dye-sub print with care |
| MOQ and lead time | Low MOQ accepted; sample 3-7 days; bulk 7-15 days |
| Contact | WhatsApp +86 135 1661 0926; [email protected] |
Related reading: Pagoda Tent Artwork: Preparing Files for Perfect Printing · Tent Fabric Guide: 300D-600D Oxford, PU Coating and PVC Compared · Custom Canopy Color Matching: Approve Roofs, Walls and Counters Together · Trade Show Table Covers: 6ft vs 8ft, Throw vs Stretch · Canopy Sidewalls: Solid, Mesh, Window and Door Panels
💬 Chat on WhatsApp Now✉ Email Us Now
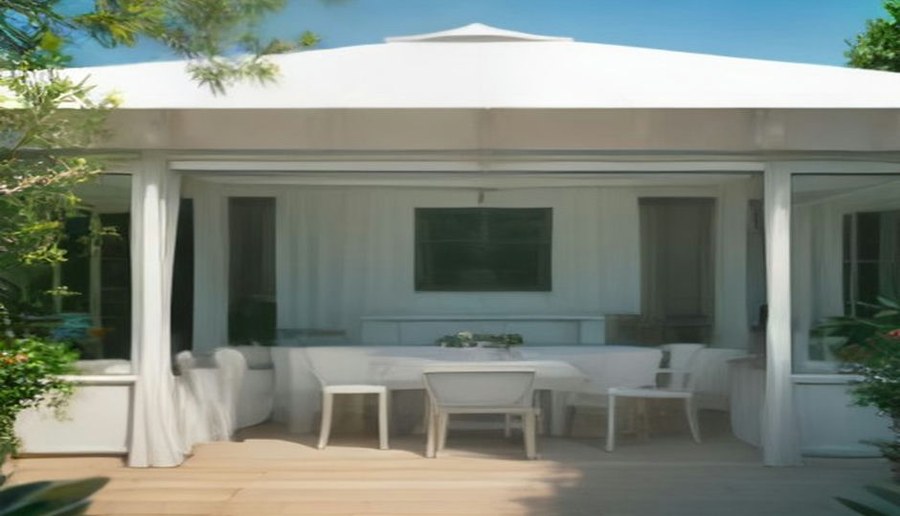
Custom Pagoda Tents
Printed roofs and walls
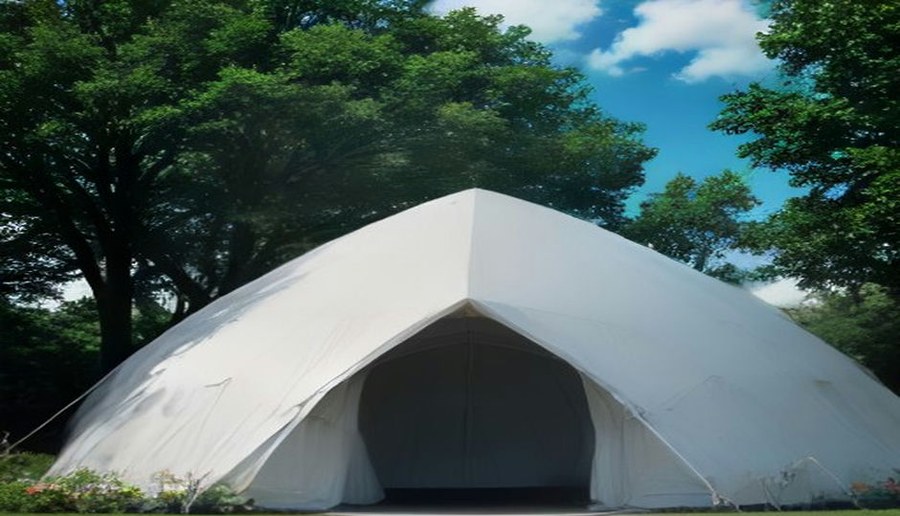
Custom Dome Tents
Full-surface print 3-6m
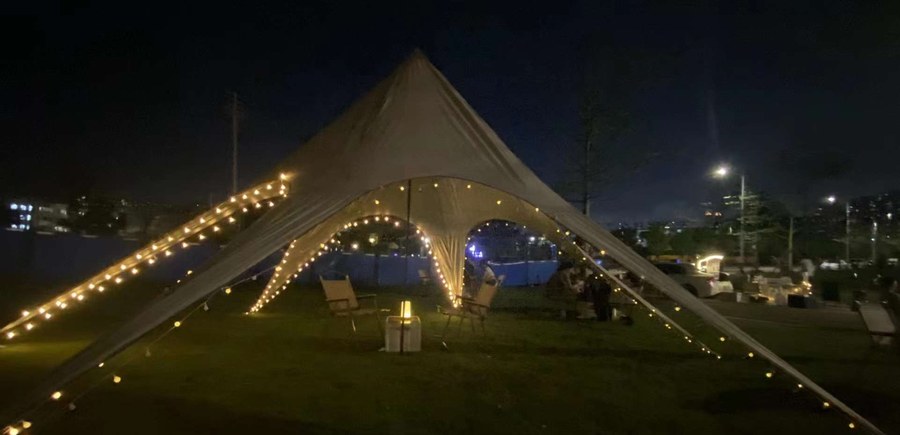
Custom Star Tents
Branded shade 5-16m
Tell us the tent size, the equipment that has to fit and the destination market. Our tent specialists reply within 1 hour, 24×7 online service, with a free mockup, written specifications and factory-direct pricing.