Phone:
0086-757-8938 9313
Email:
Address:
Caochang Industrial Zone, Liguang Rd, Lishui, Nanhai, Foshan, Guangdong, China
24/7 online services

Phone:
0086-757-8938 9313
Email:
Address:
Caochang Industrial Zone, Liguang Rd, Lishui, Nanhai, Foshan, Guangdong, China
24/7 online services
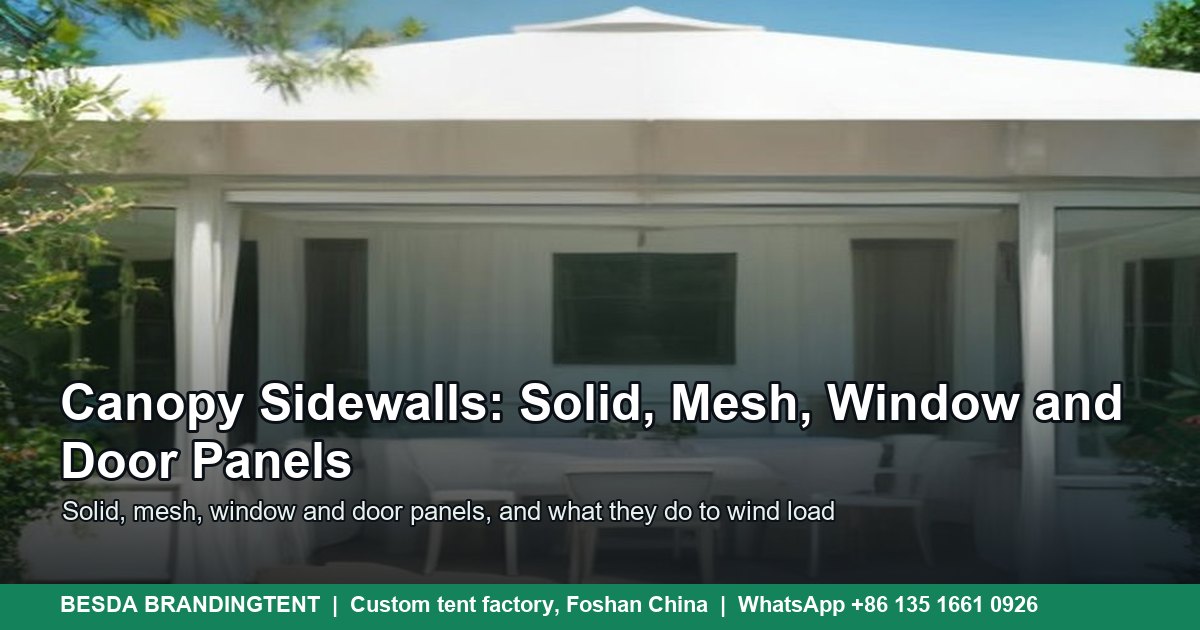
Canopy sidewalls are event-grade panels that turn an open shade structure into a room, a windbreak, a bug screen or a private service area. They also change the way the canopy handles wind, light and condensation. The panel you choose matters more than the color.
A canopy with no walls is a roof. A canopy with four solid walls is a box that catches wind. A canopy with a solid back, mesh sides and a zip door is a working space. The same frame can behave like three different products depending on the walls. The custom pagoda tent range and the tent accessories range are the two starting points for a wall order.
This guide is for rental companies, restaurants, market vendors, event agencies, distributors and venue operators who configure canopies for repeat use. It covers panel types, attachment systems, panel counts, ballast changes, ventilation, setup order and the mistakes that cost a season.
It uses typical industry guidance. Wind and ballast figures are planning numbers, not a site-specific engineering approval. For an exposed site, a long installation or a public event, confirm the anchoring plan with the venue and a qualified person.
Start with the job, not the material. A wall that blocks rain also blocks air. A wall that lets air through does not stop rain. A window gives light but adds weight and can fog. A door gives access but is the weakest point in a wind.
Solid walls are the default for weather protection, privacy and print space. They are usually 300D or 600D polyester oxford with a PU coating, or a heavier 600 gsm PVC for long installations. They block wind-driven rain and give the largest printable surface. They also trap heat and block daylight.
Mesh walls are the opposite. They let air move, keep flying insects out and cut glare without making the space dark. A 53-120 gsm polyester mesh is common. Mesh is not a rain barrier and only partly a wind barrier. It is the right wall for a hot site, a food stall or a dining area where airflow matters more than a closed look.
Clear window panels give light and visibility while keeping the weather out. They are usually 0.3-0.5 mm clear PVC or TPU. A window wall makes a small canopy feel larger and lets staff watch the queue. The trade-offs are weight, fogging, scratching and a higher cleaning effort.
Zip doors are a panel with a zipper, usually #8 or #10. They give controlled access without lifting or removing a wall. A door is the part that gets used most, so the zipper quality and the installation matter. A cheap zip on a door fails before the fabric does.
| Panel type | Typical material | Main job | Blocks rain | Blocks wind | Light | Best use |
| Solid wall | 300D/600D oxford or 600 gsm PVC | Weather, privacy, print space | Yes | Yes | Low | Back wall, storage, windward side |
| Mesh wall | 53-120 gsm polyester mesh | Airflow, bugs, shade | No | Partly | High | Hot sites, dining, market stalls |
| Clear window | 0.3-0.5 mm clear PVC or TPU | Light and visibility | Yes | Yes | High | VIP areas, counters, showrooms |
| Zip door | Oxford or PVC with #8/#10 zip | Controlled access | Yes | Yes | Low | Staff entry, deliveries, security |
| Half wall | Oxford or PVC, 1-1.2 m high | Define space, hide clutter | Partly | Partly | High | Counters, queue lines, open booths |
A half wall is a fifth option that solves a different problem. It defines a counter or a queue without closing the space. It hides clutter at the floor and leaves the top open for conversation. For a market stall or a registration desk, a half wall often works better than a full wall.
A solid wall is the workhorse. It keeps rain off a counter, hides stock and gives the printer a flat surface. For a rental company, a solid back wall with a printed logo is the standard unit. For a restaurant, a solid windward wall extends the usable season.
The material choice depends on the install length. A 300D oxford wall is lighter and packs smaller. A 600D oxford wall is heavier and more abrasion-resistant. A 600 gsm PVC wall is the heaviest and is used for a semi-permanent enclosure where the wall stays up for weeks. The heavier the wall, the more the frame and the ballast have to carry.
Print changes the equation. A full-color printed wall looks good, but the ink and the coating add weight and can affect the hand. A dark wall in summer absorbs heat. A white or light wall reflects light and makes the interior brighter. If the canopy is used for dining, a light interior wall is often more comfortable than a dark branded wall.
Solid walls also change the acoustics. A closed canopy is louder inside because sound reflects off the walls. A mesh or open side lets sound escape. For a band, a bar or a busy dining area, plan at least one open or mesh side so the space does not become a drum.
Mesh is the panel for hot sites and insect-heavy sites. It lets air through, cuts the sun and keeps flies and mosquitoes out. It also lets rain through. That is the trade: comfort in heat, less protection in a storm.
A mesh wall is useful on the leeward side of a canopy. The windward side can take a solid wall, and the leeward side can take mesh for airflow. This combination gives weather protection on the exposed side and ventilation on the sheltered side. It is the standard layout for a food stall or a summer dining area.
Mesh also works as a bug screen for a cooking or serving area. It keeps insects away from food without closing the space. The mesh needs to be tensioned, or it will billow and rub on the frame. A loose mesh panel wears at the grommets and the seams.
Print on mesh is possible, but detail is limited. Small text and fine logos fill in because the mesh has holes. A bold mark or a simple shape works better. If the brand needs a detailed graphic, put it on a solid wall and use mesh for the sides.
A clear window and a mesh panel both let you see out, but they do different jobs. A clear PVC window keeps rain and wind out while letting light in. A mesh panel lets air in and keeps bugs out, but it does not stop rain. Choose by the weather you need to handle, not by the view.
Clear PVC is the better choice for a cold or rainy season. It turns a canopy into a bright room and keeps the weather outside. It can fog when the inside is warmer than the outside, and it scratches if it is cleaned with a rough cloth. Use a soft cloth and a plastic cleaner, not ammonia or alcohol.
Mesh is the better choice for a hot or humid season. It keeps the air moving and the insects out. It does not stop rain, and it does not keep heat in. In a mixed climate, a canopy can use a clear window on the windward side and mesh on the leeward side.
Window size matters. A full-height clear wall gives the most light but the most weight and the most cleaning. A smaller window at eye level gives light and a view without turning the whole wall into plastic. For a ticket counter or a service window, a half-height clear panel is often enough.
A door is the most-used part of a wall system. It should open wide enough for a person with a tray, a wheelchair or a hand truck. A single zip door of 80-100 cm is common. A double door or a roll-up door is better for deliveries and equipment.
The door position matters. Put it on the quiet side, away from the wind and the main road. A door on the windward side catches gusts and can blow open. A door at a corner is easier to reach than a door in the middle of a long wall. If the canopy is a storage unit, put the door on the side that faces the access path.
Zipper quality decides the life of the door. A #8 or #10 nylon or resin zip is common for a canopy door. A #5 zip is lighter and belongs on a small panel, not a door that opens all day. Keep the zip clean and apply wax or silicone when it stiffens. Sand and salt are the enemies.
A door also needs a way to stay open. A tie-back, a hook or a roll-up strap keeps the panel out of the way. Without a tie-back, the door flaps and the zip takes the load. A small detail, but it decides whether the door survives a windy week.
The attachment system is the interface between the wall and the frame. It decides how fast the wall goes on, how well it holds in wind and whether the panel can be replaced on its own. There is no universal system; the frame and the wall have to match.
Hook-and-loop is the fastest for frequent changes. It is common on rental canopies and pop up gazebos. It wears out with use, and dust and lint reduce the grip. Clean the hook side with a brush and replace the strip when it stops holding.
A zipper connection is slower but stronger. It is common on season-long installations and doors. The zip must be aligned before the wall is tensioned, or the panel will pull. A zipper also needs a clean track; sand and grit are the main cause of a jam.
A keder cord slides into a track on the frame. It gives a clean edge and a strong hold, and it is common on frame tents. The frame must have the matching profile. A keder wall is not interchangeable with a hook-and-loop frame.
Clips and buckles are the budget option. They are fast and cheap, but they can slip in a gust. Ratchet straps are the heavy-duty option for exposed sites. They hold well, but over-tensioning can bend a leg or distort the frame.
| System | Speed | Wind hold | Best for | Watch-out |
| Hook-and-loop (Velcro) | Fast | Moderate | Frequent changes, rental | Wears out; clean lint from the hook |
| Zipper | Medium | High | Season-long installs, doors | Snags on sand and grit |
| Keder cord | Medium | High | Frame tents with a track | Needs the matching profile |
| Clip or buckle | Fast | Low | Light use, small canopies | Can slip in a gust |
| Ratchet strap | Slow | Very high | Exposed sites, heavy walls | Over-tension can bend a leg |
Ask for the attachment type in writing before you order. A wall that does not match the frame is scrap. If you have a mixed fleet, standardize on one system or keep a conversion kit for each frame type.
The frame decides how many panels you can hang. A four-leg canopy takes up to four panels. A six-leg canopy takes up to six. An eight-leg frame takes up to eight. The front is usually left open, so a four-leg canopy often uses three panels, not four.
| Frame | Legs | Maximum panels | Typical layout |
| 2×2 m pop up | 4 | 4 | Back plus two sides; front open |
| 3×3 m pop up | 4 | 4 | Back plus two sides; door on one side |
| 3×6 m pop up | 6 | 6 | Back, two long sides, two ends, front open |
| 3×3 m pagoda | 4 or 6 | 4 or 6 | Solid back, window sides, zip door |
| 4×4 to 6×6 m pagoda | 4 or 6 | 4 or 6 | Full enclosure for service areas |
Count the openings before you order. A 3×6 m canopy with six legs has four long sides and two ends. If you want a closed back, two closed ends and an open front, that is five panels, not four. A panel map with labels (back, left, right, front, door) prevents a wrong count.
If the canopy will be connected to another canopy with a gutter, the shared side is usually open. Order the walls for the outer perimeter, not the shared edge. A gutter connection changes the panel count and the ballast plan.
Sidewalls turn a canopy into a sail. Without walls, wind flows over and around the roof. With walls, the wind hits a surface and pressure builds inside. The frame and the anchors have to resist more force. In a strong gust, a walled canopy can lift or tip if the ballast is sized for an open canopy.
The planning numbers are simple. At 20 mph, a 10×10 canopy with roof and walls can present about 200 sq ft of surface and roughly 500 lb of force. That force has to be resisted by the anchors. A canopy with three weighted legs and one unweighted leg is more dangerous than a canopy with no weights, because it can rotate around the anchored legs.
| Wind speed | Open canopy | With sidewalls | What to do |
| Under 10 mph | 20-30 lb per leg | 40 lb per leg | Weight all four legs evenly |
| 10-20 mph | 40-60 lb per leg | 60-80 lb per leg | Add ballast before the walls go on |
| 20-30 mph | 60-100 lb per leg | 100-150 lb per leg | Reconsider the setup; leave the upwind side open |
| Over 25 mph sustained | Take down | Take down | No ballast replaces removing the canopy |
The safe plan is to add ballast before the walls go on, weight every leg evenly and keep the weights low and strapped to the frame. If the site is exposed, leave the upwind side open or use mesh. A solid wall on the upwind side creates the highest internal pressure.
No ballast replaces removing the canopy. When sustained wind is forecast above about 25 mph, take the canopy down. A canopy that is designed for event use is not a storm shelter. If the event cannot run without the canopy in that wind, the site or the schedule needs to change.
For a long installation, ask for a site-specific anchoring plan. Ground stakes work on grass, but not on concrete. Ballast plates work on hard surfaces, but they need enough weight and a low profile. A combination of stakes and ballast is common on mixed surfaces. The venue may also require a permit or an engineer’s note.
A closed canopy traps heat and moisture. People breathe, food cooks and wet ground releases vapor. The moisture condenses on the inside of a cold wall or roof. Over time, the fabric can stay damp and develop mildew. The fix is airflow, not more fabric.
Leave at least one side open or use mesh. If the canopy must be closed for weather, add a vent or a small opening at the top of a wall. Do not enclose a grill, a fryer or a fuel heater without a proper vent. A canopy is not a sealed building, and a closed space with a heat source is a safety risk.
In hot weather, a light-colored roof and mesh walls keep the interior cooler than a dark roof and solid walls. In cold weather, clear walls and a solid windward wall keep the heat in, but condensation increases. A dry floor and a small air gap at the bottom of the walls help.
Check the walls after rain. If water is trapped between the roof and the wall, dry it before storage. A wall that goes into the bag damp can grow mildew in a week. A small amount of airflow during storage is better than a sealed plastic bag.
The best layout depends on the job. A vendor booth, a dining room, a storage unit and a queue have different needs. These four layouts cover most canopy uses.
| Layout | Panels | Best for | Watch-out |
| Vendor booth | Solid back, window sides, zip door on one side | Markets, trade fairs | Keep the front open for sales |
| Dining room | Solid windward, mesh leeward, door on the quiet side | Restaurants, beer gardens | Do not close all four sides in heat |
| Storage unit | Four solid walls, zip door, no windows | Equipment, supplies | Add ventilation; condensation |
| Queue or reception | Half walls in front, solid back, window side | Ticketing, registration | Keep the entry wide enough for wheelchairs |
The vendor booth layout uses a solid back for branding, window sides for visibility and a zip door on one side for staff. The front stays open. This gives a clean background for photos and a clear counter for sales. It is the standard market and trade fair setup.
The dining layout uses a solid wall on the windward side, mesh on the leeward side and a door on the quiet side. The goal is to keep the wind and rain out without turning the space into a hot box. In a cold season, swap the mesh for clear windows.
The storage layout uses four solid walls and a zip door. It hides equipment and keeps the weather out. The risk is condensation, so add a vent or leave a small gap. A storage canopy should not be sealed airtight.
The queue or reception layout uses half walls in front, a solid back and a window side. Visitors can see the counter and the staff, and the queue has a clear direction. Keep the entry wide enough for a wheelchair and a pram.
The order of installation matters. Start at the back, then the sides, then the front. The back panel sets the alignment. The side panels tension the frame. The front panel and the door go last, because they are the most used and the most likely to be adjusted.
Two people can install a four-panel set in 10-20 minutes. One person can do it, but the panels are easier to handle with a second pair of hands. Put the top edge on first, then work down. Do not pull the bottom hem to stretch the panel; that distorts the print and stresses the seam.
Add the ballast after the walls are on, or before if the wind is rising. Weight every leg, not just the corners. Keep the weights on the ground and strapped to the frame. A weight that hangs on a strap can swing and damage the leg.
At pack-down, remove the door first, then the front, then the sides, then the back. Fold or roll each panel and label it. A panel that goes back in the wrong order slows the next setup. A small label on the inside hem saves time at every event.
Clean fabric walls with cold water and mild soap. Use a soft brush on marks and rinse fully. Do not use bleach, solvent or a high-pressure washer. A pressure washer can strip the coating and force water into the seams.
| Task | Method | Avoid |
| Wash fabric | Cold water, mild soap, soft brush | Bleach, solvent, high pressure |
| Clean clear PVC | Water and a soft cloth; plastic cleaner | Ammonia, alcohol, abrasive pad |
| Dry | Hang or lay flat, both sides dry | Packing damp |
| Zipper | Brush grit, apply wax or silicone | Force, sand, salt |
| Store | Fold loose or roll, label the panel | Heavy weight, UV exposure |
Clear PVC needs a different routine. Use water and a soft cloth, then a plastic cleaner. Do not use ammonia, alcohol or an abrasive pad. Dry both sides before storage. A window that is packed wet can cloud, and a scratched window cannot be polished back to clear.
Zippers need attention. Brush out sand and grit, then apply wax or silicone. Do not force a stuck zip; work it back and clean the track. A zip that is treated once a season lasts longer than one that is forced every week.
Store panels dry, folded loose or rolled, away from direct sun. Do not stack heavy cases on fabric. UV degrades the coating over time, so a dark shelf is better than a sunny floor. Label each panel with the frame size and the position.
Most sidewall problems are planning problems. These are the ones that show up in the first season.
A panel map and a ballast plan prevent most of these. The map shows which panel goes where. The plan shows how much weight goes on each leg for the forecast wind. Both are one page, and both save time on site.
Sidewalls are the wrong buy when the site is exposed and the canopy is not anchored for the load. A walled canopy in an open field with a strong forecast is a risk, not a comfort upgrade. If the event cannot move or the canopy cannot be anchored, leave the walls off or use mesh.
They are also the wrong buy when the goal is a fully weatherproof building. A canopy with walls is still a temporary structure. It does not have the insulation, the drainage or the structural rating of a fixed building. If the event needs heating, plumbing or a sealed room, a different structure is the right tool.
For a one-day rental in good weather, walls may be unnecessary. For a hot climate with no airflow, solid walls can make the space unusable. For a site with a strict fire rule, the wall material and the certificate matter more than the color. Check the rule before you order the panels.
Use this checklist before you order. It keeps the panel order and the frame in the same plan.
| Feature | Advantage | Benefit |
| Four panel types | Each wall has a clear job | You stop guessing which wall to close |
| Cut to the frame | Fits the leg spacing and eave height | No gaps at the corners, no dragging hem |
| Zip door with #8 or #10 zip | Controlled access without lifting a wall | Staff and deliveries move without dismantling |
| Clear PVC window option | Daylight without opening the wall | The space stays bright in poor weather |
| Mesh option | Air moves, bugs stay out | More usable days in hot or insect-heavy sites |
A supplier who asks for the frame model and the leg spacing is easier to work with than one who only asks for the canopy size. The frame is the interface, and the panel is cut to it. A generic wall that fits loosely will flap, rub and wear.
In the UK, the product is usually called a gazebo sidewall, and hook-and-loop attachment is common on pop up frames. In the United States and Canada, canopy sidewalls are often ordered with a 10×10 pop up for markets and events. In Australia and New Zealand, the same panel is sold as a marquee wall for a folding marquee.
In Germany, the Faltpavillon wall is often specified with a fire certificate and a precise panel count. In France, the barnum or tonnelle wall may use a different attachment, so match the frame before ordering. In Latin America, the carpa plegable wall is often sold with a solid back and mesh sides for market stalls.
In the Middle East, shade and airflow matter more than rain protection. Mesh walls and open sides are common in hot months, while clear windows and solid walls are used for cooler evenings. In all markets, the buyer type changes the order: a rental fleet needs durable panels and spare zips, a restaurant needs a clean look and easy cleaning, and a distributor needs a carton plan and a repeatable spec.
Send the frame model, the leg count, the eave height, the leg spacing, the panel positions, the panel types, the attachment system, the print file, the fire requirement, the quantity and the event date. If you have a photo of the frame connection, send it. If you have a panel that fits well, send its measurements.
Ask for a panel map with labels and a ballast plan for the forecast wind. Ask whether the panels are cut to the frame or taken from a stock size. Ask how the door is reinforced and what zip is used. Ask for the packed weight and the carton count.
The usual order flow is a mockup, a written spec, a deposit, production, a photo check and packing. Samples usually run 3-7 days, and bulk production 7-15 days after approval. Peak season adds time. Send the event date with the inquiry so the schedule is planned backward from the setup day.
Keep the panel map, the frame spec and the approved print file. When you reorder, send them back. The second set will fit the same frame, and the labels will match the first.
No. The attachment system and the panel dimensions are frame-specific. A hook-and-loop wall does not fit a keder track, and a panel cut for one leg spacing may not fit another. Send the frame model and the leg spacing before you order.
Plan for at least 50-100% more ballast than an open canopy. A common planning range is 40-60 lb per leg at 10-20 mph without walls, and 60-80 lb per leg with walls. Weight every leg evenly and strap the weights to the frame.
Yes. A common layout is a solid windward wall, mesh on the leeward side and a door on the quiet side. This gives weather protection where the wind hits and airflow where it does not.
Clear PVC can fog when the inside is warmer than the outside. Better airflow and a dry floor reduce it. Clean with water and a soft cloth, and avoid ammonia or alcohol, which can cloud the surface.
Yes. Solid walls give the best print surface. Mesh accepts bold shapes but not fine detail. Clear windows are usually left unprinted so the view stays clear. Send the panel map with the artwork so the print does not cross a door or a seam.
Yes, if the frame and the panel spec are recorded. Keep the panel map and the fabric batch. A replacement panel is faster and cheaper than a new set, but the color can differ slightly between batches.
They make it more weather-resistant, not waterproof. Wind-driven rain can enter at seams, zips and the gap at the bottom. A canopy with walls is a temporary structure, not a sealed building.
Two people can install a four-panel set in 10-20 minutes. The back goes on first, then the sides, then the front and the door. Add ballast before the wind rises and weight every leg.
| Item | Detail |
| Product scope | Custom sidewalls for pop up canopies, pagoda tents and folding marquees |
| Panel types | Solid, mesh, clear window, zip door and half wall |
| Materials | 300D/600D oxford, 600 gsm PVC, 53-120 gsm mesh, 0.3-0.5 mm clear PVC |
| Attachment | Hook-and-loop, zipper, keder cord, clip or ratchet strap |
| Panel count | Four-leg frame up to 4 panels; six-leg up to 6 panels |
| Ballast guide | 40-60 lb per leg at 10-20 mph open; 60-80 lb with walls |
| Wind limit | Take down above about 25 mph sustained wind |
| Solid walls print best; mesh for bold shapes only | |
| Fire rules | Certificate on request; venue rules vary |
| MOQ and lead time | Low MOQ accepted; sample 3-7 days; bulk 7-15 days |
| QC | Panel fit, zip test, print position, assembled photo |
| Contact | WhatsApp +86 135 1661 0926; [email protected] |
Related reading: Pagoda Tent With Walls: When You Need Them and Why · Tent Accessories Guide: Walls, Gutters, Weight Plates and More · Tent Wind Resistance: What Manufacturers Should Tell You · Canopy Tent Leg Height and Eave Clearance: What Fits Underneath · Custom Tent Printing: Dye-Sub vs Screen vs Transfer
💬 Chat on WhatsApp Now✉ Email Us Now
Custom Pagoda Tents
Walled modules 3×3-6x6m
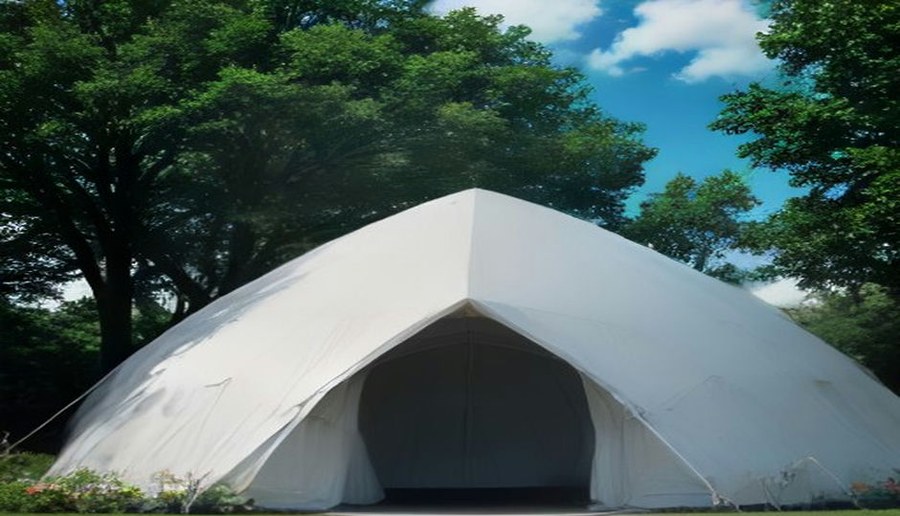
Custom Dome Tents
Round kiosks 3-6m
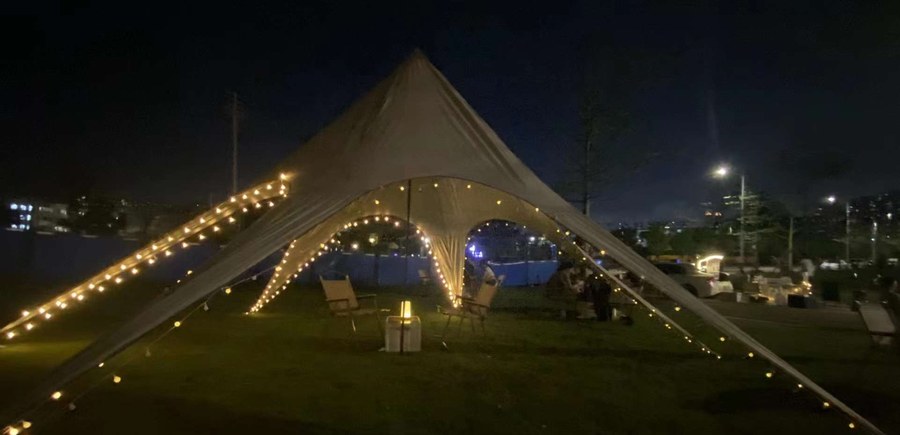
Custom Star Tents
Open shade 5-16m
Tell us the tent size, the equipment that has to fit and the destination market. Our tent specialists reply within 1 hour, 24×7 online service, with a free mockup, written specifications and factory-direct pricing.