Phone:
0086-757-8938 9313
Email:
Address:
Caochang Industrial Zone, Liguang Rd, Lishui, Nanhai, Foshan, Guangdong, China
24/7 online services

Phone:
0086-757-8938 9313
Email:
Address:
Caochang Industrial Zone, Liguang Rd, Lishui, Nanhai, Foshan, Guangdong, China
24/7 online services
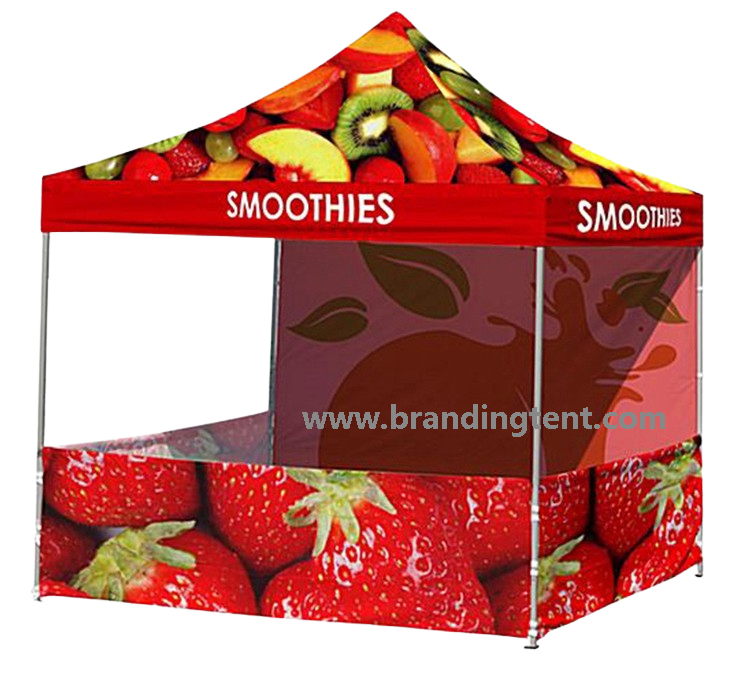
A logo can use the correct color code and still look different on a tent roof, a back wall and a counter. The surfaces may use different materials, print processes or finishes. They also receive different light. For a branded event kit, approve the color on the proposed substrates, not only on a screen mock-up.
Start by separating two approvals: the digital proof confirms the design and placement; an agreed physical print sample confirms the color appearance on a specified material. One should not silently stand in for the other.
Before requesting a custom canopy quote, identify the target. Is it the current brand standard, an existing printed wall, a retail package or a previous campaign tent? Those targets may disagree. An old roof that has been outside for several seasons is not necessarily a reliable reference for a new brand launch.
An agency coordinating several suppliers needs a shared reference and a named approver. A distributor ordering repeat batches needs the approved sample and production record. A marketing team replacing one panel needs to decide whether matching the remaining, aged panels matters more than returning to the original brand color. These are different briefs, even when the artwork file is identical.
| Buying situation | Main risk | Best starting point |
|---|---|---|
| New printed canopy and walls | Each component approved separately | A component list and one coordinated sample review |
| Replacement wall for an existing gazebo | New print differs from the weathered kit | Current panel plus the original reference, if available |
| Several regional event kits | Approvers use different screens or references | One controlled master and a written approval route |
| Roof, counter and rigid signs from different suppliers | Different substrates reproduce color differently | Samples from each proposed material |
Send the complete color-system name and code, including its suffix or edition where applicable. A short note such as “brand red” leaves too much interpretation. A numeric RGB or CMYK value without its color context is not a universal physical standard either.
If your brand manual specifies a Pantone reference, reproduce that reference accurately in the brief. The suffix is part of the identification, not decoration. Ask the printer whether the target can be reproduced acceptably on the chosen material and process. Do not assume that a paper reference guarantees an exact textile result.
For a physical target, use a clean, current reference and identify it. A phone photograph or screenshot is useful for discussing a direction but should not become the final color authority. Camera processing, display settings and the light used for the photograph can all change what the approver sees.
The fabric’s base color, surface texture, coating and opacity affect the result. A lightweight, translucent panel viewed against a bright sky may not look like an opaque counter graphic. A matte textile and a glossy rigid panel can also look different even when both are intended to represent the same brand color.
Ask for the actual proposed material, not simply “premium fabric.” Record the fiber or substrate, coating or lining, nominal mass in g/m2 if available, and single- or double-sided construction. For a double-sided wall, confirm whether a separate blockout layer is used. A fabric’s denier alone does not specify its weight, opacity or color reproduction.
The production route matters too. Transfer dye-sublimation uses heat to transfer printed graphics to suitable textile; other systems may use direct printing or a different ink and curing process. Ask which process applies to each component. Do not assume that the counter and roof will use identical production equipment or materials.
The following is a buyer’s specification worksheet, not a list of standard BESDA inclusions. Complete it with the proposed supplier and keep the approved version with the order.
| Record | What to enter | Why it belongs in the approval |
|---|---|---|
| Order and artwork revision | Project ID, file name, date and revision | Prevents approval of an obsolete campaign |
| Color target | Full code/reference or identified physical sample | Establishes what is being matched |
| Component | Roof, valance, full wall, half wall or counter | Makes the approval surface-specific |
| Material | Substrate, coating, mass and lining where specified | Ties the result to the actual construction |
| Print process | Process for that component | Prevents an unreviewed substitution |
| Sample ID | Unique label and production date | Allows the buyer and printer to discuss the same sample |
| Viewing conditions | Agreed lighting, background and orientation | Makes visual comparisons more consistent |
| Acceptance method | Visual approval and any agreed instrumental method | Avoids inventing a tolerance after delivery |
| Approver | Name, decision and approval date | Resolves who can release production |
There is no single color-difference tolerance that fits every tent order. If instrumental measurement is required, agree the color-difference formula, instrument conditions, backing, measurement locations and acceptance limit before sampling. A bare promise of “Delta E below 2,” for example, is incomplete without the method and relevant conditions. This is an example of an incomplete specification, not a BESDA performance claim.
Place the roof, wall and counter samples together under agreed conditions. Use the same backing and orientation for repeat comparisons where relevant. Review the intended outside and inside faces separately. A print that looks acceptable against a solid backing may behave differently when light passes through it.
For a color-critical project, also consider the intended event lighting. Two surfaces can appear to match under one light and separate under another. Agree which viewing condition controls acceptance rather than promising a match under every possible light source.
After color approval, check an assembled sample or an agreed layout view for placement. This second review catches a different problem: a color may be acceptable, while the campaign looks inconsistent because a seam, doorway or counter divides the graphic. Roof tension and panel orientation should follow the approved model’s assembly instructions. Do not over-tension fabric to change how a print looks.
Not every part of an event graphic needs the same level of color control. A brand logo, a large solid corporate background and a product image can deserve different approval priorities. Mark the critical colors and surfaces instead of asking for an undefined “perfect match” everywhere.
| Approval feature | Practical advantage | Buyer benefit |
|---|---|---|
| Sample on the proposed substrate | Shows the material/process combination | Exposes a color issue before the full kit is produced |
| Roof, wall and counter reviewed together | Reveals cross-component differences | Supports a more coherent branded stand |
| One retained, identified master | Gives repeat orders a shared reference | Reduces arguments based on memory or photographs |
| Written change approval | Makes material or process substitutions visible | Protects the approved result when the order changes |
Sampling has a cost and takes time. Ask what sample format is available, whether it represents the final production process, and how sampling affects the schedule and MOQ. A small strike-off can help evaluate color, but it does not prove the fit of a full replacement roof or the appearance of every large image.
The general manufacturing sequence is artwork preparation, process-specific print sampling, approved printing, textile cutting and joining, component finishing, inspection and packing. The exact order of printing and fabrication depends on the product. Confirm the route for the offered canopy rather than treating this outline as a factory audit.
For repeat purchases, send the old order reference and the retained approval record, not just the old PDF. Ask whether the material or process has changed. A retained sample should be stored away from sunlight, moisture and contamination so it remains useful as a reference.
Do not promise an invisible match between a new wall and a used roof. Compare the current kit if visual continuity is essential, then decide whether to accept a controlled difference or replace a coordinated group of printed components. Keep replaced components clearly separated so an obsolete slogan does not return to the next event.
Follow the supplied cleaning instructions. Test an approved cleaning method on an inconspicuous area where instructed, avoid unapproved solvents, and dry textiles before storage. Care protects the print but cannot guarantee that outdoor exposure will never change color.
BESDA BRANDING TENT supplies printed event tent options, serves buyers in 150+ countries and has received five-star customer feedback. Discuss the roof, walls and counter graphics as one purchase brief, rather than treating the structure and printing as unrelated orders.
Ask for the proposed material and print specifications, available sample options and written approval steps for your project. The useful comparison between suppliers is what each can document for your actual kit. Country coverage and positive feedback do not replace a color sample or establish a particular color tolerance.
No. Use it to check design and placement. For color-critical work, agree a physical sample on the proposed substrate and an acceptance method.
Yes, as a common target. Different substrates and finishes can still look different, so review their samples together and agree what is acceptable.
Send the wall’s order record and a current physical reference where practical. Matching a used panel may differ from reproducing the original brand standard; settle that priority before sampling.
Include one only with an agreed method and conditions. Otherwise use a clearly identified physical sample and written visual approval criteria, as agreed with the supplier.
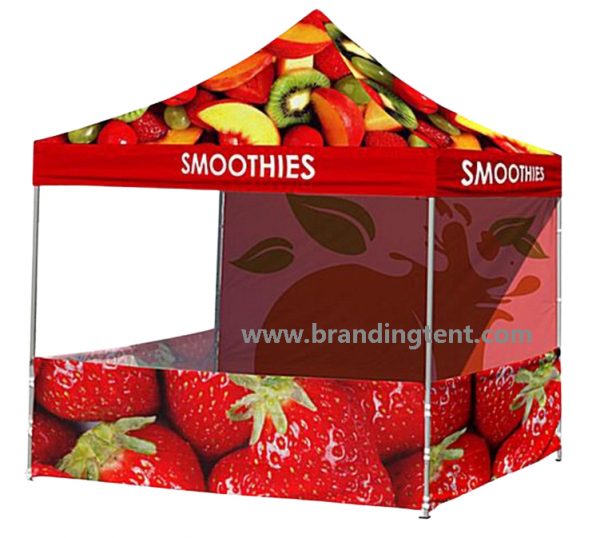
Pagoda Tent Artwork: Preparing Files for Perfect Printing
Check panel placement, seams and printing requirements before approving the artwork.
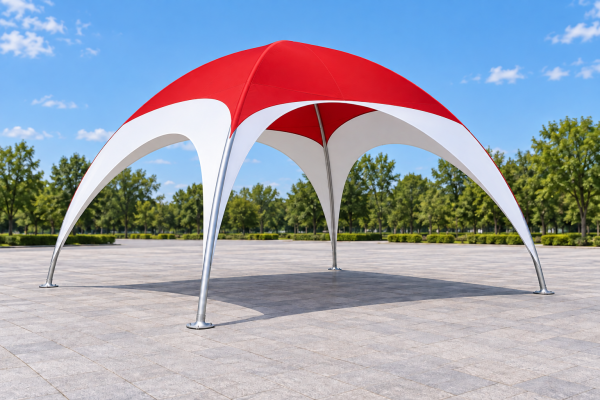
Arc Tent Artwork Checklist: Approve Curves, Seams and Sightlines
Match the artwork to the model template and resolve panel boundaries before printing.
Tent Fabric Guide: 300D-600D Oxford, PU Coating and PVC Compared
Separate fabric construction, coating and weight from unsupported performance claims.
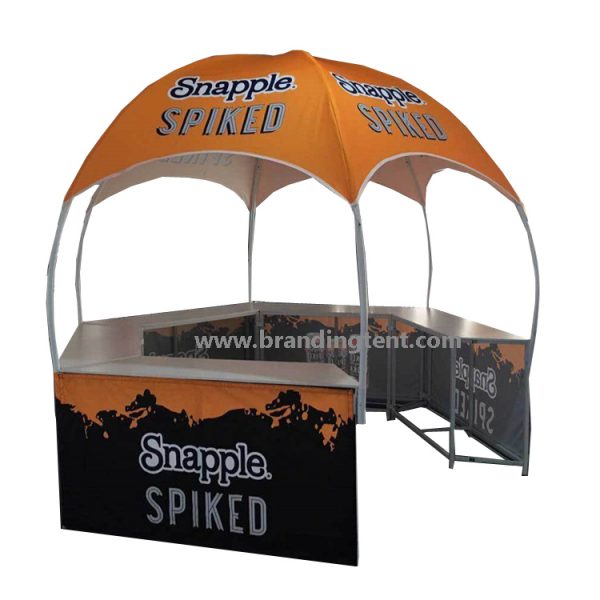
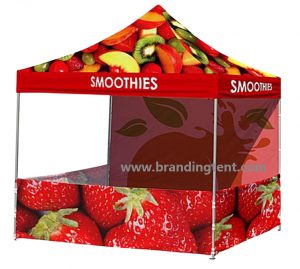
Existing website product images illustrate printing and layout. Confirm the actual model and specification; images are not proof of fit, performance or customer endorsement.
Include the tent model, components, quantity, country and arrival date. Attach the current artwork and full color references. Tell us whether you are launching a new kit or matching an existing one, and which surfaces need sample approval.
Discuss Print Colors on WhatsApp