Phone:
0086-757-8938 9313
Email:
Address:
Caochang Industrial Zone, Liguang Rd, Lishui, Nanhai, Foshan, Guangdong, China
24/7 online services

Phone:
0086-757-8938 9313
Email:
Address:
Caochang Industrial Zone, Liguang Rd, Lishui, Nanhai, Foshan, Guangdong, China
24/7 online services
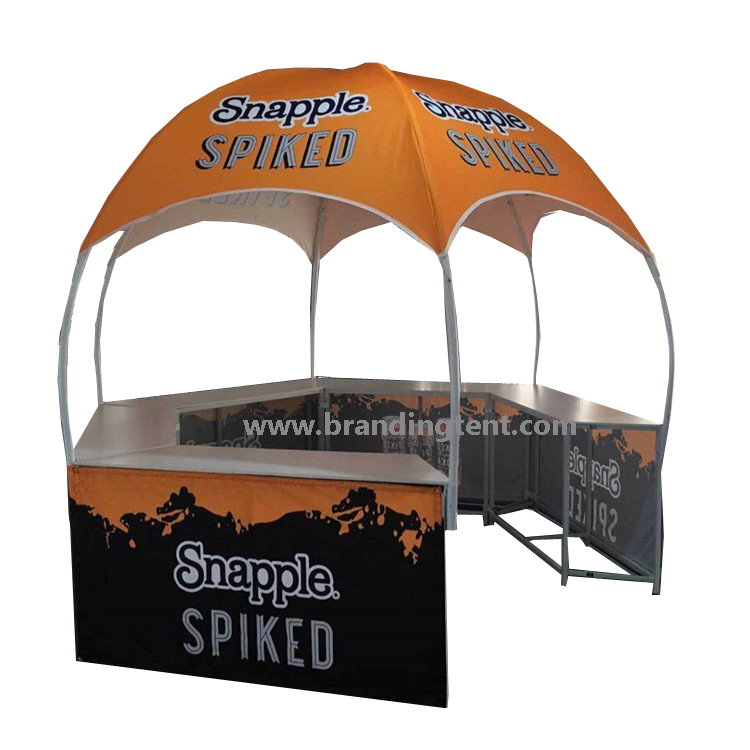
A dome tent’s overall height does not tell you whether a display cabinet, trolley or counter can pass through its entrance. Ask for the clear opening in the finished configuration, including the width at the height of your equipment. With an arched opening, the widest point and the tallest point are not one usable rectangle.
For an event buyer, this check belongs before artwork approval and production. A display that fits on the floor plan may still be difficult to bring inside. The solution may be a different entrance, a sectional counter or a different tent, rather than a larger roof.
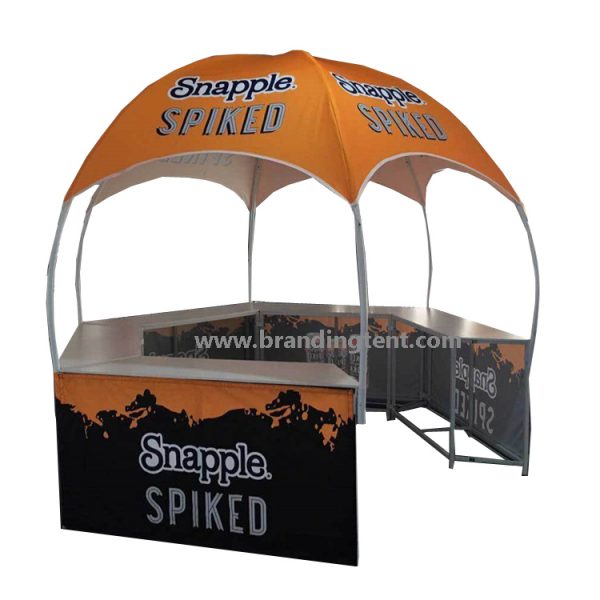
This guide focuses on promotional dome canopies and small event shelters used for sampling, reception and demonstrations. A rigid-frame kiosk, an air-supported canopy and a large geodesic event dome have different structures and entry arrangements. The word “dome” is not a compatibility specification.
Identify the model and proposed wall or counter layout first. An open arch shown in a photograph may become a much smaller working entrance after a counter, closure, lining or flooring is installed. Do not assume a door system shown on a large geodesic dome can be added to a small promotional canopy.
Delivery access is the route from the unloading point to the plot. Equipment access is the route through the tent opening and into the final display position. Visitor access is the route people use while the event is operating. A layout can succeed at one and fail at another.
| Buyer or activity | Access problem to resolve | Information to send |
|---|---|---|
| Sampling team with a wheeled refrigerator | Tall rectangular equipment passing below a curve | Equipment dimensions in its moving condition, trolley and handles included |
| Activation agency with a display cabinet | Turning from the entrance into the stand | Cabinet footprint, height and proposed plan |
| Rental company with reusable counters | Loading, assembly and removal sequence | Counter modules, joining method and crew access |
| Distributor specifying a kiosk | Different customers using the same kit | Entry drawing, wall/counter options and model references |
| Venue operator receiving visitors | Thresholds, circulation and exit arrangements | Finished flooring, barriers, visitor use and venue requirements |
This is why an entrance drawing can be more useful than another exterior photograph.
Measure from the finished walking or equipment surface, not from bare ground if the proposal includes a raised floor. Describe what remains in place during both delivery and operation. A rolled-up fabric closure, a door leaf or a sign can reduce the available clearance.
| Specification to request | Unit or format | Check against |
|---|---|---|
| Clear entrance width at floor level | mm, with measuring points | Equipment base and wheel track |
| Clear width at equipment-top height | mm on the entry elevation | Upper corners of the cabinet or display |
| Clear central height | mm above finished surface | Tallest part in moving condition |
| Threshold or step | Height and profile in mm | Wheels, handling and accessible route |
| Door or closure in the open position | Drawing or photo with dimensions | Loss of width or headroom |
| Inside turning and positioning area | Dimensioned plan | Equipment length, crew and route |
| Counter and wall layout | Installed and loading configurations | Whether the access path remains available |
| Anchors, cables and ballast positions | Complete layout | Obstructions outside and inside the entrance |
There is no universal dome entrance dimension. Ask for the exact model and configuration rather than scaling a marketing image.
Suppose an equipment unit, including its trolley, is 900 mm wide and 1,800 mm tall in the approved moving orientation. These are illustrative dimensions, not a BESDA product specification. The proposed arch is described as 1,400 mm wide at the bottom and 2,100 mm high in the center. Those two figures alone do not establish a fit.
Now suppose the entry drawing shows only 840 mm of clear width at 1,800 mm above the finished surface. The 900 mm-wide unit cannot pass straight through upright at that height, even though the opening looks generous at the base. The shortfall is 900 – 840 = 60 mm, before allowing any handling clearance.
Ask the supplier and equipment owner to assess a suitable alternative. Do not assume tilting is permitted: refrigeration equipment, glass cabinets and loaded displays may have handling restrictions. Nor should you treat a diagonal on a floor plan as proof that a tall three-dimensional object will pass through an arch.
Record the narrowest gate, corridor or doorway between unloading and the tent. Include surface changes, slopes and overhead restrictions. At the plot, draw the approach to the opening and the turn into the display position. A straight doorway check does not prove the trolley can turn inside a furnished stand.
Use the actual equipment outline in a scaled plan. For a tight route, ask the supplier or responsible installer for a three-dimensional clearance check or an agreed trial with the equipment. A drawing should state which counter sections, walls and closures are fitted during that check.
| Proposed feature | Practical advantage | Buyer benefit | Trade-off to resolve |
|---|---|---|---|
| Open entry bay | Fewer closure components in the approach | A more direct visitor or equipment route | Exposure, security and venue suitability |
| Compatible fabric closure | Can close a supported opening between uses | More control over the stand when appropriate | Opening size, fastening and operating arrangement |
| Approved removable counter section | Separates service layout from loading layout | Equipment access without abandoning the kiosk format | Safe connections, storage and assembly sequence |
| Different tent or entrance geometry | Changes the available opening | May accommodate the equipment without unsafe handling | New plot, graphics, anchoring and cost review |
These are options to investigate, not standard inclusions in every dome. Rigid doors, extra openings and structural alterations need a supported design. Do not cut a new opening or remove a frame member to solve an access problem.
The tent is also a printed display. Approve the entrance and counter arrangement before approving the graphics, so a logo or campaign message does not disappear with a removable counter section or a rolled-up closure. Ask for the artwork template for the chosen model and mark the entry bay, seams and assembly orientation.
Review the roof, counter panels and any walls as separate viewing surfaces. Check the approach from the front and both sides, then check what visitors see after entering. Put essential product information where it remains visible in the operating layout, not across a doorway that must stay open. For repeat campaigns, keep the approved print files, color reference and component labels with the configuration drawing. A curved roof proof does not establish an exact color match to an older, weathered counter panel; agree a sample when the match matters.
For B2B procurement, the useful differentiation is a configuration that can be checked, not a vague claim of “easy access.” Include the equipment envelope, entrance elevation, finished floor level, installed counters and required loading route in the approved brief. Have the supplier identify the frame and cover materials, connection details and compatible closures for that model.
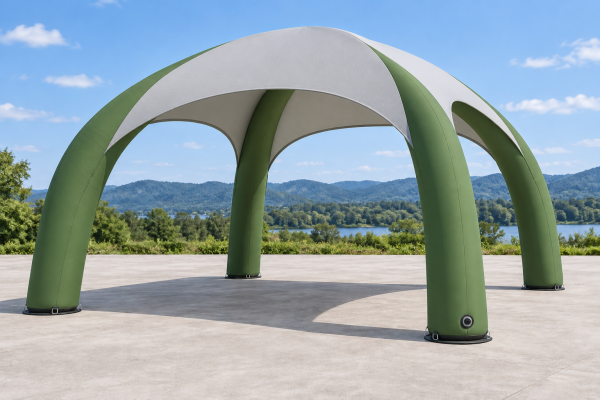
An entry made from curved rigid tubes is not the same as an inflated beam or a zip opening in fabric. Material thickness or fabric denier alone does not establish clear dimensions, structural suitability or compliance.
Use this order sequence:
Follow the model’s installation manual and approved site arrangement. The installer should establish when equipment is moved in relative to the erection, anchoring, floor and counter sequence. “Put it inside before building the tent” is not a substitute for an approved installation method or a plan for getting it out afterward.
Keep exits and required visitor routes clear during operation. Equipment fit is not an accessibility or emergency-egress assessment; the responsible venue professional must resolve those requirements for the location and use.
Before each event, inspect connections, closures and the areas around the entrance. Check for fabric rubbing, loose fittings and changed counter layouts. Clean and dry textile components according to the supplied instructions, and protect curved frame parts and fasteners in labeled packaging. Recheck clearance when floors, equipment or graphics structures change.
BESDA BRANDING TENT offers dome, pagoda and inflatable event shelter options, serves buyers in 150+ countries and has received five-star customer feedback. That gives your inquiry a useful starting point: compare the required access and operating layout across suitable product options instead of committing to a shape first.
Send the equipment dimensions and proposed floor plan. Ask for confirmation of the offered model’s opening, materials, compatible counters or closures, and available supporting documents. If a requirement cannot be supported by that dome, review an alternative rather than relying on an unapproved site modification.
No. Peak height describes the structure’s highest point. Entrance clearance must be measured at the actual opening above the finished surface, with the intended components fitted.
It depends on the equipment’s moving envelope and the clear opening across its full height. Include the trolley, handles and any parts that remain attached. Confirm handling restrictions with the equipment supplier.
Only if that is a supported feature of the proposed system. Confirm the connection, assembly sequence and operating arrangement before buying; do not assume a fixed counter is removable.
No. Accessibility and emergency access involve additional location-specific requirements. Have the responsible venue professional review the complete arrangement.
Geodesic Domes vs Promotional Domes
Read the guide and compare the requirements with your event brief.
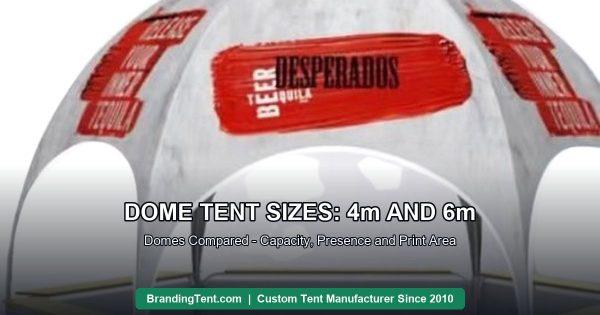
Dome Tent Sizes: 4m and 6m Domes Compared
Read the guide and compare the requirements with your event brief.
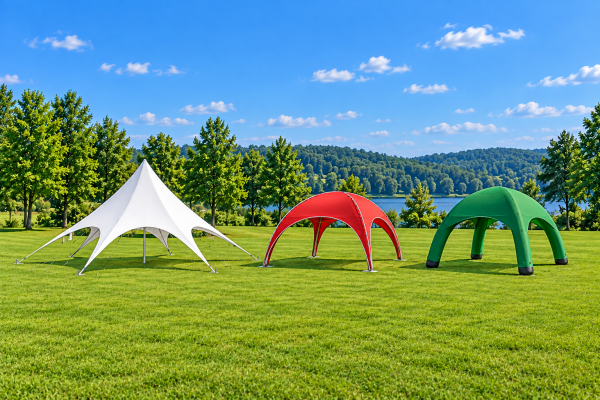
Outdoor Event Tent Site Survey: A Checklist Before You Request Quotes
Read the guide and compare the requirements with your event brief.
Existing website product images illustrate printing and layout. Confirm the actual model and specification; images are not proof of fit, performance or customer endorsement.
Include the country, event date, plot dimensions, ground surface, equipment width/length/height in moving condition, flooring, counters, walls and quantity. State whether visitors, staff and equipment use the same opening. Attach the equipment drawing if available.
Discuss Dome Access on WhatsApp