Phone:
0086-757-8938 9313
Email:
Address:
Caochang Industrial Zone, Liguang Rd, Lishui, Nanhai, Foshan, Guangdong, China
24/7 online services

Phone:
0086-757-8938 9313
Email:
Address:
Caochang Industrial Zone, Liguang Rd, Lishui, Nanhai, Foshan, Guangdong, China
24/7 online services
An inflatable tent acceptance checklist should verify the delivered model, complete kit, air-system type, fabric and graphics, inflation equipment, operating instructions and agreed functional tests. Inspect before the first event, with enough time to resolve discrepancies. Do not discover a missing valve adapter or incompatible power supply during setup.
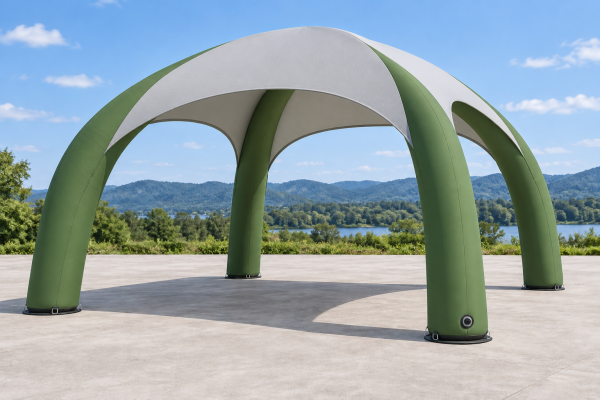
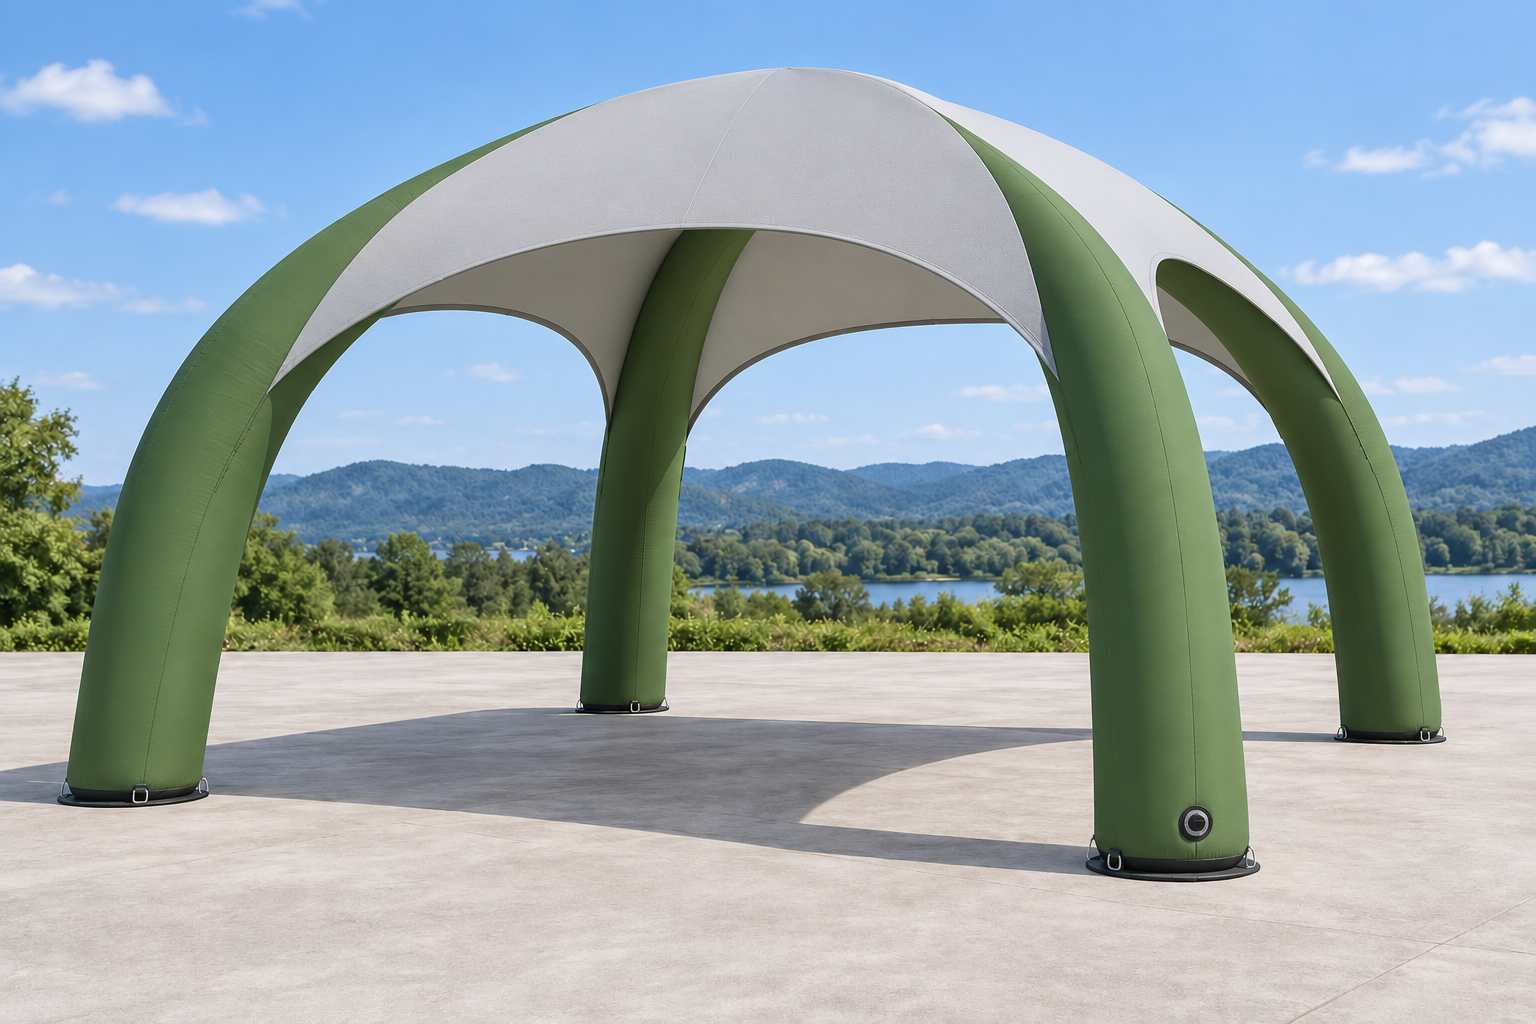
AI concept illustration, not a photographed BESDA product, pressure test or evidence of a particular air-system specification.
For a distributor, an incomplete kit becomes an after-sales problem. For a roadshow team, it can delay opening. For a rental company, an unidentified replacement part can keep the tent out of service. A written checklist gives all three buyers a practical handover standard.
Start by identifying the air system. An airtight structure is inflated and then retains air, subject to its operating and monitoring requirements. A continuous-air structure depends on a running blower. Neither description makes the tent maintenance-free or suitable for unattended use. Confirm the actual model, not a generic product-family photograph.
Outdoor leisure coverage often discusses inflatable accommodation and sunrooms alongside other tent products. A branded event canopy has a different job. Inspect it against its agreed event use and documents, not against promises borrowed from a hotel-style tent.
| Checkpoint | Record at receipt | Resolve before use |
|---|---|---|
| Identity | Model, size, drawing revision and package labels | Mismatch between order, manual and supplied tent |
| Components | Roof/body, walls, fittings, bags, repair items and anchoring kit against the list | Missing or substituted items |
| Fabric and graphics | Visible damage, printed areas, orientation and agreed color reference | Tears, abrasion, incorrect panels or unapproved artwork |
| Air system | Chambers, valves, caps and accessible service points | Wrong system or incomplete operating information |
| Inflation equipment | Equipment label, adapter, supply requirements and instructions | Incompatible equipment or electrical supply |
| Function | Agreed inflation, monitoring and closure checks | Abnormal behavior requiring supplier assessment |
| Handover | Manual, maintenance instructions, parts references and applicable documents | No clear route for safe operation or repair |
Photograph carton condition and labels before unpacking, then the kit as it is checked. Keep packaging until shipping damage and completeness are resolved. Report a discrepancy with the order reference and specific images rather than a vague statement that the tent ‘does not work’.
For an airtight model, obtain the specified operating pressure, approved inflation method, chamber arrangement and monitoring procedure. If a pressure-retention test is part of acceptance, agree the duration, conditions and permissible result with the manufacturer before testing. There is no universal pressure or hold period that this article can safely apply to every tent.
Record ambient conditions and any change during the test. Temperature can influence pressure, so an unexplained reading change should not automatically be labeled a leak. Check that the gauge and method are suitable, and follow the manual when assessing valves or suspected leakage. Do not exceed the specified pressure to make a test look more demanding.
For a continuous-air model, verify the specified blower, connection, voltage, frequency and operating arrangement. Establish how the event team should respond to power loss under the supplied procedure. Do not deliberately interrupt a live installation with occupants to demonstrate what happens. Any commissioning check should take place in a controlled, unoccupied setup under the manufacturer’s instructions.
An inflatable tent may combine an outer textile sleeve with a separate airtight element. Other constructions use different combinations of coated material and joining methods. Ask for a component-level material description rather than assuming that a denier number describes the whole structure.
Check accessible areas for damage, uneven assembly, trapped fabric and incorrectly positioned fittings. Where the design provides service access, follow the instructions; do not cut open a sleeve or apply an improvised repair during inspection. Factory joining and sealing quality require the agreed evidence and tests, not a visual promise that every joint will last indefinitely.
Printing should be compared with the approved proof and sample conditions. A smooth-looking roof does not prove its mass, coating, water resistance, fire performance or UV durability. Request the relevant material records and test evidence separately. A general hose demonstration, for example, is not a standardized hydrostatic-head result for the fabric.
If setup time matters to the buying decision, agree what the clock includes. Separate unpacking, positioning, inflation or assembly, anchoring, walls, electrical checks and final inspection. Record the crew size, their experience, equipment, surface and configuration.
A useful acceptance record might report each stage without claiming that one demonstration predicts every future site. Do not publish a factory test result unless the test actually happened and its raw record is retained. Ask for evidence covering the delivered configuration, especially when walls or other components differ from the demonstration.
Use the exact manual for assembly and the responsible professional’s site-specific anchoring arrangement. An inflatable frame still needs the prescribed stabilization; it is not safe simply because it contains air. Obtain venue acceptance and applicable documents before public use.
Mark checks as accepted, awaiting evidence, requiring correction or rejected against an agreed criterion. An unknown result is not a pass. Keep the tent out of public service when a structural, electrical or operating issue requires resolution.
Agree who provides missing parts, how damage is assessed and what evidence is needed for a warranty or shipping claim. Confirm the applicable terms in the order; do not assume every issue has the same remedy. Spare valves, compatible repair materials or replaceable chambers can matter to a fleet, but their availability must be confirmed for the model.
Retain the completed checklist with the tent’s identity and manual. Dry the fabric before storage, use the approved cleaning method and protect it from sharp hardware. Inspect the valves, attachment areas and other specified components before subsequent use. Follow the model’s instructions for deflation, folding and pressure-related care.
Compare total ownership cost through the whole kit: transport, power where required, setup labor, cleaning, storage, spares and downtime. The purchase price alone does not tell you how reliably the tent can move between events.
BESDA BRANDING TENT serves buyers in 150+ countries and has received five-star customer feedback. Send the intended activity, country, quantity, required size, power situation, ground surface and arrival date. Request the proposed model, air-system description, component list, artwork proof and agreed acceptance scope. Approve those points with the quotation, then confirm any sample, production inspection and shipping milestones. This gives your team a concrete basis for deciding whether the proposal meets the job.
Use the same identity and completeness checks, but different operating and functional checks. An airtight model and a blower-supported model do not have the same commissioning procedure.
Only the pressure specified for that exact model and procedure. Request it in writing; do not borrow a number from another tent.
Allow time for inspection, a controlled trial setup and resolution of discrepancies. Final site approval and the operating plan are separate from receiving the shipment.
Airtight vs Continuous-Airflow Inflatable Tents
Read the guide and compare the requirements with your event brief.
Inflatable Tent Blowers: Wattage, Spares and Specs in Writing
Read the guide and compare the requirements with your event brief.
Inflatable Tent Repair and Maintenance Guide
Read the guide and compare the requirements with your event brief.
Product concept illustrations from the existing website media library. Specify your logo, print layout, materials and complete supplied kit separately.
Send your intended use, event deadline, destination, quantity, available power and the checks your receiving team needs to complete.
Discuss My Inflatable Tent on WhatsApp
Email My Inspection Requirements