Phone:
0086-757-8938 9313
Email:
Address:
Caochang Industrial Zone, Liguang Rd, Lishui, Nanhai, Foshan, Guangdong, China
24/7 online services

Phone:
0086-757-8938 9313
Email:
Address:
Caochang Industrial Zone, Liguang Rd, Lishui, Nanhai, Foshan, Guangdong, China
24/7 online services
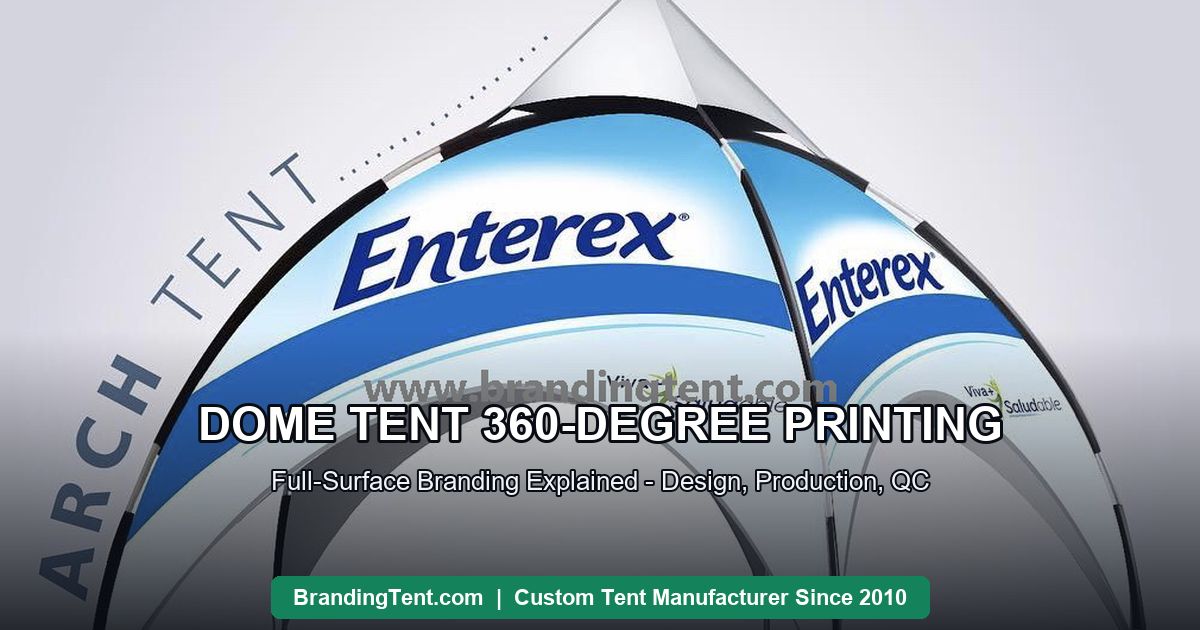
Most tent branding is applied to a tent; dome 360° printing turns the tent into the branding. The curved canopy accepts a continuous printed surface — logos wrapping the dome so the structure reads from every approach — and achieving that seamlessness is a design and production discipline, not a checkbox. This guide explains how full-surface dome printing actually works: how artwork is laid out for a curved, multi-panel canopy; why dye-sublimation prints before assembly; how the factory aligns graphics across seams and QC-checks the result; and the artwork rules that keep a 360° dome sharp from every angle people will actually see it.
1. The surface is the whole roof. Not a valance strip with a logo: the entire curved canopy carries artwork, wrapping the dome so branding continues across every panel and orientation.
2. Seams exist; they must disappear. A dome roof is assembled from panels that meet along reinforced seams. 360° print works when graphics are designed to cross those seams invisibly — the seam-crafting detailed below.
3. The audience is everywhere. Dome prints are seen from the queue, the parking lot, the stage side, the drone. Unlike facade-focused booth print, dome artwork must survive 360° inspection — which drives every design rule that follows.
1. Flat printing, curved life. Panels are printed flat as whole pieces, then cut and assembled into the dome. Printing before assembly is what allows graphics to run continuously across panel boundaries.
2. Ink in the fiber. Dye-sublimation bonds color into the polyester rather than layering on top — the reason a printed dome survives folding, abrasion from assembly, and seasons of sun without cracking along fold lines.
3. Alignment control. All panels print from one master layout with registration marks, so the graphic that crosses a seam matches when the panels meet at the sewing table — the same discipline our factory guide describes for every printed tent.
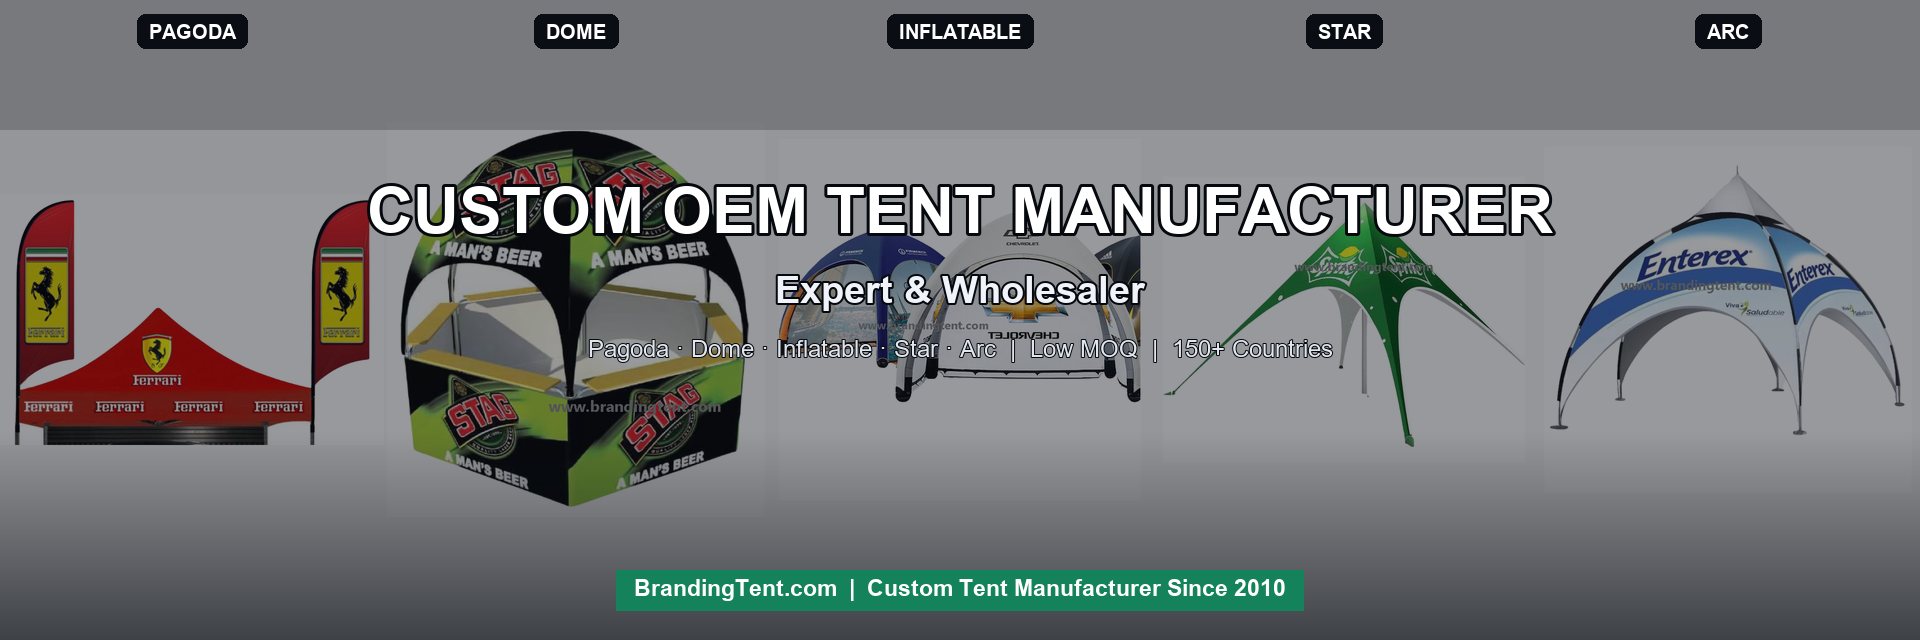
1. Design in the round. Lay artwork out as a continuous band around the dome, not as four independent faces. Logos that repeat around the curve read from every approach; single-face hero graphics create three dead angles.
2. Reserve seam margins. Keep fine text away from panel edges and reinforcement zones; let backgrounds and large shapes cross seams instead. Small type crossing a seam is the most common 360° print regret.
3. Think in read distances. The dome is seen at 30 meters (roofline) and 1 meter (under the canopy). Roofline: 2-3 elements maximum, biggest possible. Under-canopy: an interior-facing print or plain bright surface beats a font-size argument.
4. Vector, Pantone, mockup. The standard discipline applies at maximum stakes: AI/EPS/PDF vector files, Pantone references, and a curved-surface mockup approved in writing — our artwork guide is the checklist.
1. Panel-by-panel print QC against the approved mockup before cutting — color, registration and edge alignment.
2. Seam alignment check during assembly: graphics that cross seams are verified as panels meet, not after the roof is sewn shut.
3. Full-assembly inspection with the canopy mounted: overall rotation of the graphic, valance continuation, tension affecting print geometry.
4. Pre-shipment photography from multiple angles — the evidence file that lets the buyer approve a 360° product they cannot physically walk around yet.
Honest budgeting: 360° full-surface print is not worth it when the dome is seen from one fixed direction (a stage side or a broadcast camera) — a hero-face plus valance print costs less and reads identically from that seat; when the campaign color is restrained (plain dome, printed band); or when the print budget is better spent on frequency (two 4m accent domes) than coverage. Full-surface is a tool for structures that live in the round — queues, fields, plazas — and a waste where they do not.
Between your approved layout and the cutting table, dome artwork occasionally passes through one more desk — the print engineer’s — and the reason is geometry. A curved canopy is not a flat sheet of paper; panel boundaries curve, and a graphic that looks straight on screen can print visibly bowed unless the layout is pre-distorted to match the assembled surface.
Redraws are routine craft, not failure: the factory corrects the curve, keeps every element in its safe zone, and the mockup you receive is the corrected version. The buyer’s job is reading it carefully at that stage — text, proportions and color names — because after the mockup approval, the geometry is locked into print. Ask one question if unsure: “is this the distorted working file or the flat preview?” The answer tells you the file is being handled like a real dome.
Most 360° conversations stop at the exterior, and most guests spend their time underneath. Interior-facing print — the canopy from below — is the surface an audience actually studies during a two-hour program: sponsor lines, wayfinding, campaign copy read at leisure while waiting for the reveal. Printing only the outside leaves the biggest dwell-time canvas in the venue blank.
The production logic is friendly: interior panels print in the same batch as the exterior, so color continuity is automatic and the incremental cost is a fraction of the structure’s first print. Two uses dominate: sponsor acknowledgment loops for festivals and launches, and ambient brand texture — subtle pattern work that makes the interior feel designed rather than accidental. If the dome hosts people for more than twenty minutes at a stretch, interior print is the upgrade guests never mention and always feel.
Full-surface dome printing is the highest-leverage print a brand can put on fabric: one structure, visible from everywhere, photographed with every guest. It works when the artwork is designed in the round, produced from one master layout, and verified from multiple angles before shipping. Buy 360° for the structures that live in the round — and let everything else carry the hero-face plus valance print that honestly costs less.
A last production note worth a line in every brief: dome print is judged in daylight, dusk and floodlight — three different artworks wearing one file. Colors that read perfectly at noon can flatten under warm evening wash, and sponsor lines that glow at night can disappear against a bright afternoon sky. The practical discipline is a three-light mockup review: check the artwork against the venue’s actual lighting plan, not just the screen, and adjust contrast and weight before production locks. Printers who understand event light build the proofs; buyers who ask for that understanding get the reveal their campaign was sold on, in whichever hour the photographs actually happen. File that three-light review with the batch record, and the second reprint becomes a twenty-minute job: the lighting context is already documented, the corrected weights are already approved, and the factory prints what both sides already know works. Campaigns that document their event light once reprint faster and truer every season that follows.
💬 Chat on WhatsApp Now✉ Email Us Now
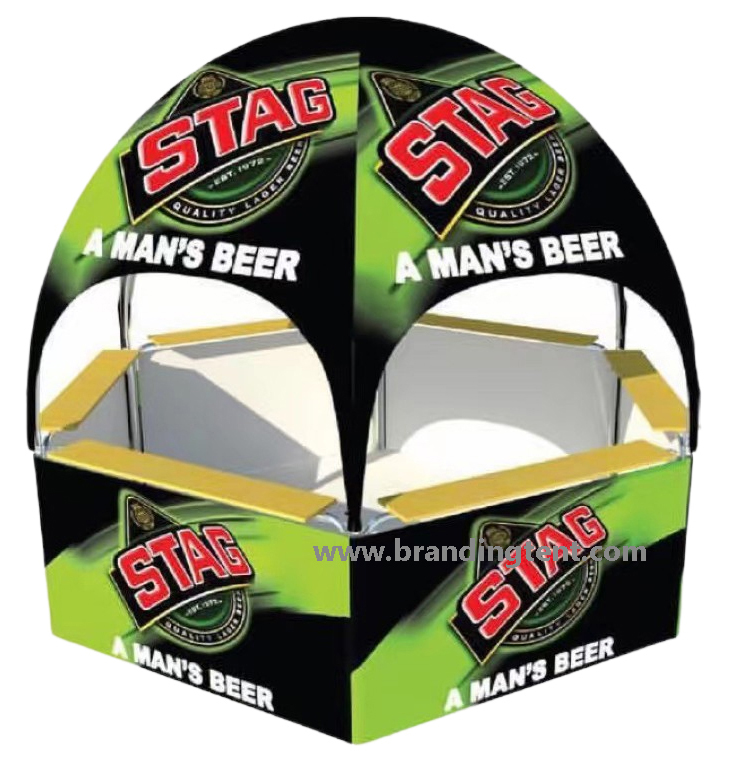
Custom Dome Tents
360-degree brand stages for events
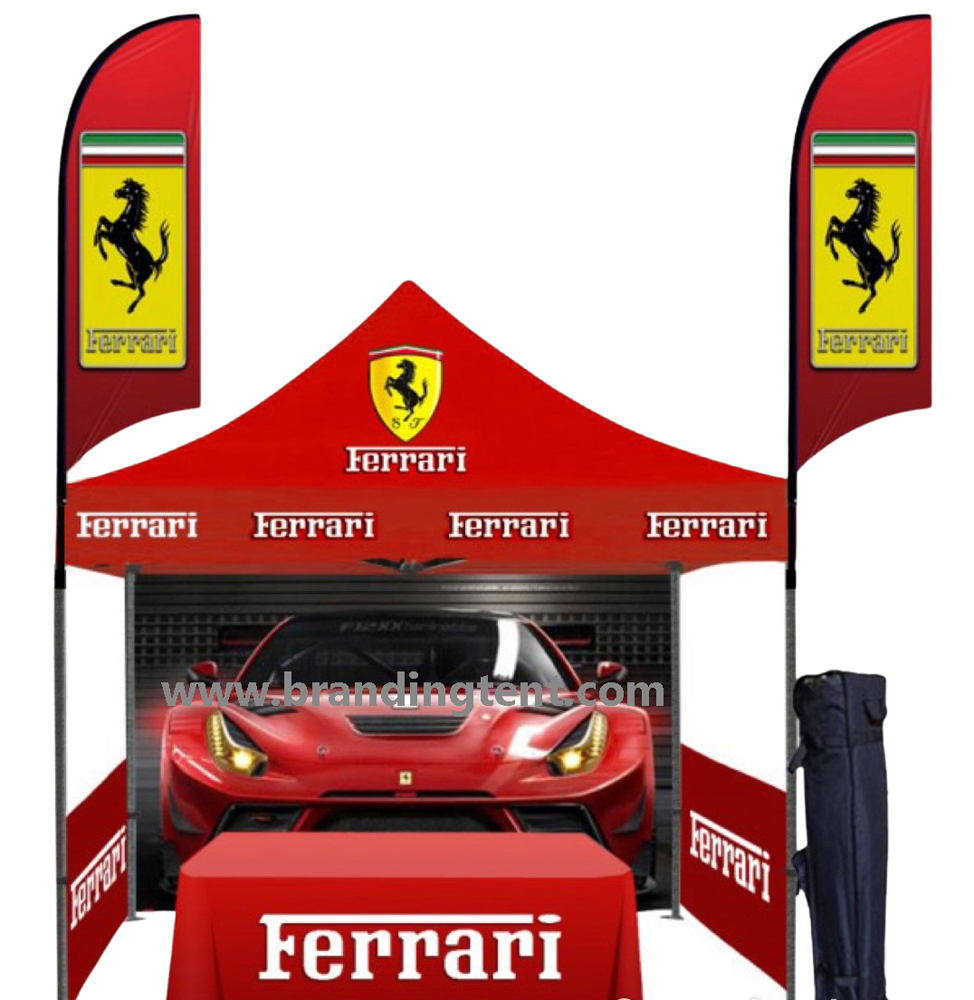
Custom Pagoda Tents
High-peak marquees, 3×3-6x6m, connectable
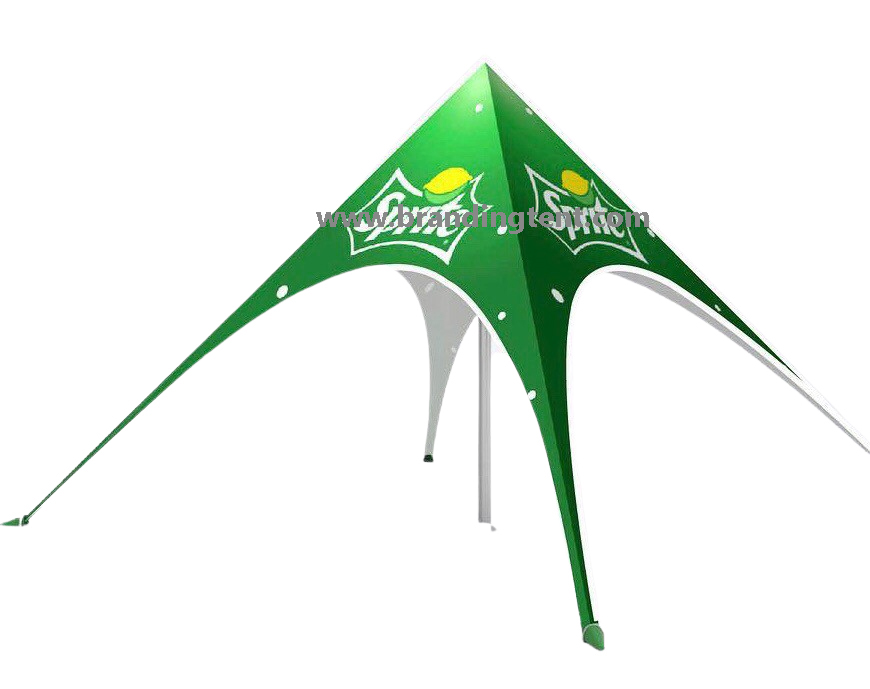
Custom Star Tents
Star shade canopies built to order
More: dome tent sizes guide · dome activation guide · tent artwork guide · full FAQ
Tell us your event scenario, size and logo file — our tent specialists reply within 1 hour, 24×7 online service, with a free mockup, written specifications and factory-direct pricing.
Full-surface dye-sublimation branding across the entire curved canopy — graphics wrap the dome so the structure reads from every approach, rather than a logo on one face plus a valance.
A dome roof is assembled from panels, so seams exist structurally. Quality 360° print makes them invisible by printing panels from one master layout and letting backgrounds cross seams while fine details stay inside safe margins.
Vector files (AI/EPS/PDF) with fonts outlined, Pantone references for brand colors, and one continuous wrap layout designed in the round. Approve the curved-surface mockup in writing before production.
Panel print QC against the mockup, seam alignment checks during assembly, full-assembly inspection with the canopy mounted, and multi-angle pre-shipment photos for buyer approval.
No — for domes seen from one fixed direction, hero-face plus valance print costs less and reads the same. 360° earns its premium on structures that live in the round: plazas, queues, fields.
Low MOQ accepted for samples; wholesale pricing scales from 5+ pieces. Sampling 3-7 working days after artwork approval; bulk 7-15 days by quantity — start 8-10 weeks before a launch.